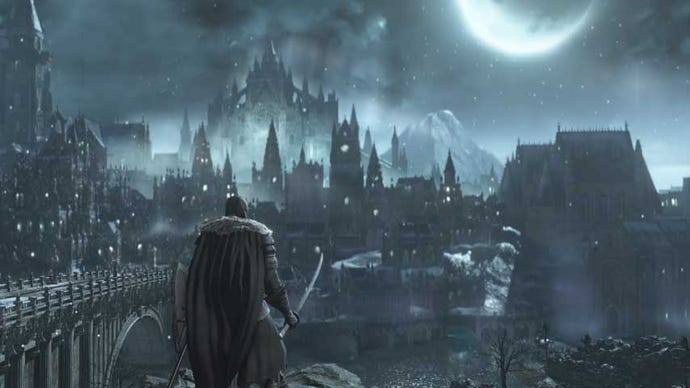
Dark Souls 3: Distant Manor to Pontiff Sulyvahn
One more push to unlock the next boss.
Dark Souls 3: Distant Manor to Pontiff Sulyvahn
From the Distant Manor bonfire, head back towards the lake, hugging the right wall to enter a sewer. The area ahead is home to a pack of crawlers. Be careful not to get swarmed; draw them to you one by one. There’s one ahead and slightly right, and two more that attack as you advance towards the item glow (it’s Dung Pies). There are about five more down here, including two huddled together (be careful), and some more Dung Pies. When it’s safe, look for the yellow glow marking the stairs out of here. Opposite the stairs before you climb up is an alcove holding the Excrement-covered Ashes; return these to the Shrine Handmaid.
Up the stairs you’ll find Siegward of Catarina if you’ve met the quest conditions so far. Speak to him repeatedly to obtain some Siegbrau, the Emit Light miracle, any emotes of his you missed earlier, and a health top up. Keep talking to him even after he falls asleep again (obtaining the Sleep emote).
There’s a cauldron of Estus Soup in this room; keep it in mind if you get into trouble ahead. Look for some stairs in the corner to emerge in the lower reaches of the manor, in a gallery. Be wary of rolling in the manor; urns often contain frost damage, which persist for several seconds.
There’s a Silver Knight ahead. You’ve fought a few Black Knights by now so you know what to expect, but don’t rush in to duel him: this one’s got a remarkably amusing cheese. See the pillars across the way? Stand near the closest one, shoot the knight in the head, then step smartly behind the pillar so he doesn’t get line of sight on you. Keep your cool as he charges and nine out of ten times he’ll stop and walk away. He must really like that painting he’s staring at (and which Souls fans should recognise). You might need to shoot the candlestick holder out of the way to start with.
We strongly recommend this even for melee characters because as soon as you make some noise in the main room, a Silver Knight archer with a giant bow will attack from a gallery above and behind you. This is very deadly, and you don’t want it happening while you duel. You can snipe the archer from the same corner of the room. Silver Knights are amazingly stupid and you can usually put two arrows in him, then wait for him to fire two arrows and forget all about you.
Take the path lading to one side of this room to find some stairs up to the archer’s position. There’s another very stupid Silver Knight waiting at the top of the stairs. When he’s down (and the archer too, assuming you didn’t snipe him) you can run all the way around this upper area to three chests, none of which are Mimics. Collect Leo’s Ring, Smough’s Great Hammer and a Divine Blessing.
Take the other doors leading out of the gallery and back onto the streets. Proceed cautiously up the stairs until a dog aggros, and lure it down to beat it. (There’s a second dog further along who always seemed to get stuck against the wall in our adventures; but watch out for it.) Move ahead but not towards the item glow; look for a black cloud ahead and on the left to identify an invisible slave mage. If you melee it, you’ll be attacked by a second invisible slave mage just ahead; if not, you can take your time killing it. In either case be careful not to get too close to the top of the stairs. Grab the item from halfway up the stairs and continue up; we got distracted after picking it up and forgot what it was, but it wasn't anything amazing.
At the top of the stairs you’ll be attacked by two dogs. Lure them down the stairs if you can because the upper landing is in sight of two invisible slave mages, and there’s a third dog behind the statue in the middle. It can be very nasty.
Climb the stairs and grab the Large Titanite Shard from opposite, then backtrack a little (don't go up the stairs) to find a lift. Take it up and open the gate, and step out so, so very cautiously; you’re back at the crossroads in front of the arch near the church, and there’s a ton of patrolling baddies to avoid.
When it’s safe, you can sprint across and through to the bonfire to take a little rest if you like. When you’re ready, take the lift back down and climb the stairs opposite, remembering that the baddies here will have respawned if you used the bonfire.
Back at the bottom of the lift, take the stairs up. As you approach the doorway you’ll be attacked by an invisible slave. There’s an invisible slave mage inside you can see from the door; he’s squatting down opposite the door - but don't go charging in just yet.
It’s pretty nasty in here. In addition to the two enemies you can see before you enter, there are two invisible slave mages on the balcony overlooking this area, and four invisible slaves between you and them, including two on the stairs. It’s hard to lure them with arrows, so try running up to the stairs and then rolling away out the door, dragging some of the melee types with you. Upstairs, you’ll find a legless invisible slave and a trapdoor ladder leading to a Large Titanite Shard.
Take the doorway out and head left of the curving stairs to collect a Soul of a Weary Warrior. This will trigger the patrol of a single Pontiff Knight above you; they’ll head down the stairs towards the door, but not inside, so you can hide and consider your approach. Its patrol take sit back up the stairs, and if you follow it you’ll trigger a second Pontiff Knight, and may end up with the two of them patrolling together (ugh). The ladder causes them great confusion should you be unlucky enough to end up having to scarper.
There’s nothing much of interest around the cathedral in front of the boss door, but on the far side you’ll find some stairs. Head down to battle two invisible slaves and collect an Ember, then open the gates back towards the Church of Yorshka bonfire. Be careful of the bishop here; you can sneak around fairly easily.
Let the enemies in the courtyard behind the arch patrol away if they haven't already, then deal with the single Pontiff Knight. You can then safely drop down from the platform in front of the boss door to grab the Ring of the Sun’s First Born.
You’ve now cleared this area, and can proceed to challenge the boss when you’re ready; that last gate you opened provides a pretty easy shortcut. Don’t forget to let the Pontiff Knights patrol away if you’re going to charge up to the gate after visiting the bonfire.
Continue to Pontiff Sulyvahn boss fight.
Back to Dark Souls 3 guide and walkthrough.


