Dark Souls 3: Demon Ruins and Old King's Antechamber
You don't have to do this. Or do you? The compulsion is deep.

Dark Souls 3: Demon Ruins and Old King's Antechamber
After defeating Old Demon King you can continue to explore Smouldering Lake. As with Old Demon King, this entire area is optional - but it contains some good loot and a couple of key items which are very tempting for pyromancers. If you'd rather skip it, head straight on to High Lord Wolnir.
Standing at the Old Demon King boss gate looking towards the ballista, look to your left and spot a ramp leading upwards. Grab the Titanite Shard on your right and pass through the doorway to activate the Demon Ruins bonfire.
Continue along the path until you reach a balcony; there’s a demon on your left. These multi-limbed baddies attack with huge swords and fire spells, including one that creates a sort of fireball turret that hangs about lobbing projectiles at you. The demons wail when they cast these turrets, and you can either kill the demon or stick them with ranged attacks to clear them. Approach with caution. They often drop Titanite Shards. When he’s dead, collect an Ember to the left, but watch out for turrets cast by the demons patrolling below.
From the path to the bonfire, move cautiously to your right, past the stairs, and you’ll see a demon satyr. These are a little tougher than the ones you met near Farron. The one you see patrolling is a bit of a lure; if you chase it around the corner you’ll run into two demon stayrs and a demon satyr mage. This last one casts a poison mists that has long range, lasts a long time, and reduces visibility to zero. You don’t want to end up fighting all four enemies at once, so be cautious.
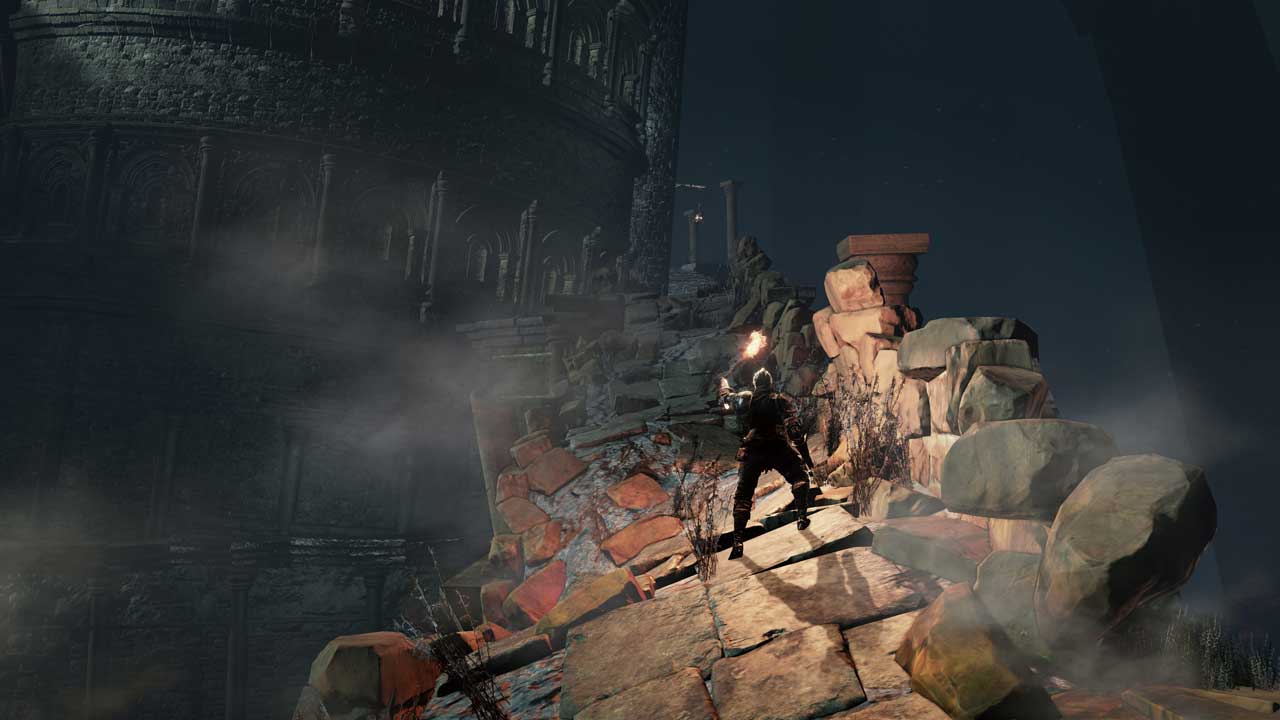
Ignore the second set of stairs and peer down the corridor around the corner. The figure squatting here is the first of two leaping demon satyrs. Like their pals upstairs they have a very unpleasant grab attack, so keep well back.
Beyond the leaping satyrs, don’t be tempted to rush over the item glow. There’s a fire slime on the roof above you should shoot down first, and then a gargoyle on the right. The latter enemy spits long bursts of far-reaching fire, so either rush in and attack before it aggros, or lure it to fire and roll right back and out of the way before rushing to attack straight afterwards. The item is an Ember.
There’s a hole in the path ahead so backtrack to the main room. We want to venture down either set of stairs and clear the two demons patrolling down here. The set of stairs where the satyrs were is the safest bet, as you’ll only aggro one of the demons.
When both demons are down you can explore the bottom floor. There are two fire slimes in an alcove. Next door, another fire slime waits to ambush you on the ceiling above the item glow, which yields an Undead Bone Shard.
There are multiple paths out of this area. The large, tempting tunnel with an item glow at the end has a huge hole in the floor, so leave it for now. There are two more paths. One runs parallel to the big tunnel and the other is perpendicular to it.
Down the perpendicular path you’ll hear hooves; advance slowly and you’ll draw a demon satyr dog to you. The corner of this corridor is an illusory wall; attack it to open the path to the room beyond, where a Black Knight will clear a few baddies unless you aggro him too quickly.
The Black Knight tends to attack in single blows, leaving nice openings, so he’s not too hard to duel. You probably want to lure him back to the room where you took down two demons, as it’s much easier to battle him in the open. He may drop a piece of the Black Knight set, and you can collect the Black Knight Sword from the room he was guarding.
Continue down the corridor. Another two demon dog satyrs are waiting in the room beyond, as well as two gargoyles. After advancing towards the next doorway, a demon satyr mage will patrol out towards you if you retreat and wait a minute. Another demon satyr is patrolling the room beyond and may aggro if you battle the mage too close to him. Lure him out, too.
A second demon satyr mage is on the left side of the room beyond. There are two parallel paths on either side of this chamber, joined by a central path. A shielded demon satyr is waiting in the left corner, and there’s an Ember at the end of a short tunnel off the central path. The stairs to the next room are in the right corner. Run up and light the Old King’s Antechamber bonfire.
The room directly on from the antechamber is patrolled by a demon. Kill it and ignore the side path to advance toward the item glow. Two demon satyrs attack from either side of the entrance, so be careful. When it’s safe, grab the Izalith Pyromancy Tome. Return this to Cornyx to unlock more pyromancy spells.
Take the path we ignored a moment ago and kill the Crystal Lizard for a Chaos Gem. (Ignore any sounds of great agitation you hear; it’s from another level.)
Return to the bonfire room and search the corners on the opposite wall; one features an illusory wall that will open onto a new path. If you run straight ahead you’ll drop back in a very early part of this level, but the side path is worth visiting. There are five fire slimes on the ceiling, but it leads to an Estus Shard on the other side of a pit we avoided earlier.
Now it’s time to go back and explore the other path leading off from the floor of the first room. Drop down into the first room where you fought the two demons (remember they'll be back if you rested or travelled from the bonfire).
From the bottom floor, take the small path parallel to the tunnel, beyond the stairs. There’s a rat part way along. Watch the right wall and you’ll spot a small opening before you reach the rat. The main path is a dead end, so go through this side path and kill the three rats. Attack the wall directly opposite the entrance you used in order to reveal a hidden path behind an illusory wall. This brings you out in the tunnel, so turn left and grab the Quelana Pyromancy Tome. Cornyx won’t accept this one, but save it for later.
The stairs nearby lead to firey death, so backtrack to the room with three rats. Take the door flanked by torches and watch out for the rat to your left – and the pitfall into lava. Follow the path (not the hole) down to a lower tunnel and battle the giant rat.
Ignore the stairs to the side for now. There’s a nest of six rats ahead, but more importantly, an illusory wall along the left side. The chest inside is real, and contains three Large Titanite Shards.
Attack the wall beyond the treasure chest to get a view of the room down the stairs we passed earlier. Seven Basiliks wait below. You can snipe a few from this platform if you want to, but we recommend taking the stairs and luring them one by one. In any case, when you’re sure its going to be safe you can drop down from the ledge behind the treasure chest to collect the Izalith staff.
Explore the room to find a Titanite Scale. The path ahead splits into two as you reach the stairs. The lower path is guarded by Knight Slayer Tsorig, and there appears to be nothing but death and dismay down there. We reserve the right to update this when we're feeling braver.
The top path leads to a bridge with a Black Knight on the other side, whom you should lure somewhere not suspended above a pit of lava. You can collect a Soul of a Crestfallen Knight when he’s down.
Contine through the arch to climb a pair of long, long ladders. At the top the ballista will begin firing at you again; you’re safe where you first pop up, but the flimsy ruins in this area provide no shelter, so plan your runs carefully.
Head for the left wall and you’ll reach a safe trench, but just around the corner from the end are three wheeled skeletons. Battle them one at a time.
The path continues around to the left. As you advance, two skeletons rise to attack on your left. Make sure you have a strike weapon handy, and hug the left wall as you advance so you can use a ranged attack to lure in just one of the two shotel skeletal knights ahead.
When they’re down, close in on the ballista (it can’t hit you here). There’s a lever in the centre you can push to disable it.
Use the series of ledges at the far end of this platform to drop down. Now that there are no giant arrows coming for you, you can explore at your leisure – but there’s little else to find out in the water we haven’t already touched on. No, we have places to go and things to be beaten into a pulp by now.
Continue via Catacombs of Carthus to High Lord Wolnir.
Back to Dark Souls 3 guide and walkthrough.