Dark Souls 3: Cleansing Chapel

Ha ha haaaaaaaa, this is a pit of horrors.
Dark Souls 3: Cleansing Chapel
Be aware that you may be invaded by Longfinger Kirk in this area if you have used an Ember or survived since your last boss fight.
If you don't already love the Cleansing Chapel (have you rolled through the chairs yet?), you will soon understand what a delightful place it is. This next, arduous crawl loops us back here up to three times, opening two sets of one-way doors, before we head off to face the next boss.
Let's start off with something fun. Exit the chapel, taking down the overseer if necessary, and immediately turn right. Ignore the passives and check out the well in the corner. If you helped Siegward of Catarina defeat the Demon back in Undead Settlement and exhausted his dialogue there, you'll find him in the well without his armour. If you meet those conditions and he's not there, you may just need to wait, unfortunately: see our NPC guide for more details on how to advance his quest.
Near the well is a statue thronged by passives. They’re gathered around an Estus Shard, and you certainly want that, but you need to kill at least one to get to it. They don't react well to this, and yes, they can all explode. Be ready to sprint into the chapel.
This next section is a bit grim. You need to pass through a graveyard and then through a couple of balconies, all of which are covered in shambling undead. These weak enemies move slowly, but they respawn very quickly. They give very few souls so don't waste your time; just stay out of their stumbling reach. Worse are the mutant undead; these malformed guys hit very hard indeed, can inflict bleed, and also respawn quickly.
Climb the stairs to the graveyard. The easiest way through here is to just run straight ahead and drop down to the right when you run out of options, making for the bridge. If you want all the treasure in here, you should instead trace the left wall. You'll pick up Astora Greatsword first off. Keep hugging the wall and you'll reach an area with multiple item glows. There's a soul and an Executioner’s Greatsword – but this area immediately erupts with mutant undead when you pick up your loot, so be prepared to leg it. Keep taking left turns and not dropping down and you’ll reach the bridge.
Cross the bridge and avoid the undead as you battle a twinblade guard. These enemies are not as tough as NPCs but gosh, they're not easy, either. Do whatever you have to to survive.
When the twinblade guard is down you can take in your surroundings. The path forward is just to keep advancing, but on the lower balcony to your right there's some good loot. There are lots of mutant undead on this platform but on the bright side it's within range of the tower in Undead Settlement, so your pal the giant will help. The narrow confines and constant respawns mean you're at risk of being hit by spears, so keep moving. There's some Repair Powder, a Young White Branch, various souls and most importantly an Undead Bone Shard on the corpse on the beam sticking out over a fall.
Go back to the main path and continue upwards and onwards, turning right to spot a small building. Ignore the tempting item glow inside and run around the outside in a clockwise direction to grab a Titanite Shard. Now enter and grab the Curse Ward Shield before taking the stairs down. Kick the ladder, and descend.
Down here, the path on your right is patrolled by a couple of maggot beasts. These things are very aggressive. They hit hard, and they fill you with maggots that inflict blood loss status. You might just want to avoid them for now. A torch will help keep them away.
Head across this area in the direction you were facing as you exited the room with the ladder. There’s an item glow in a window ahead; this is a shortcut back to the Cleansing Chapel. It's pretty easy to get back despite the one-way drop; instead of taking the stairs up to the graveyard, look for a lower ledge to drop down to. You'll have to fight (or cheese) one maggot beast, but then you'll be a short hop from the ladder. This is Loop 1.
As you continue to explore this end of the area, avoiding the maggot beasts' patrol zone, you’ll spot a Giant Crystal Lizard masquerading as a bit of the scenery. Duel it for its Titanite Scale – or if you’d rather cheese it, leave it alone for a moment and wait for the right opportunity. To its right is a small path leading to a Poisonbite Ring – and a maggot beast. The beast has trouble exiting through the narrow path, which can be used to your advantage - but it does sometimes make it through, so be careful.
Continuing on the path past the Giant Crystal Lizard's nest you’ll reach two Crystal Lizards, both of whom drop Twinkling Titanite. After killing the first one stop and search for a short set of stairs near a corner of the building; this leads to a Titanite Shard. This is a great spot to cheese the Giant Crystal Lizard as it can't climb the edge and usually doesn't approach the stairs if you stick to the opposite end of the raised path.
Continue on down the previous path to fight the second Crystal Lizard and pick up another Titanite Shard. The path now loops around back to where the two maggot beasts patrol. In the middle of their routes is the Saint-tree Bellvine – a very nice talisman. If you try to cheese the beasts with arrows, be prepared to run a long, long way if they spot you.
That’s everything down here, so take the ladder back up. If you've used the bonfire, pause just outside the building with the ladder to let the twinblades guard patrol away - unless you want (??) to fight her again.
Cleansing Chapel: Loop 2
Head for the main cathedral building. Facing the locked doors, head left and around the corner, rolling through some crates to grab two Rusted Coins. On the right side you’ll find some Red Bug Pellets, plus a nasty ambush situation. The shield grunt ahead isn’t the problem; the crossbowman across the way, and the grunt "sleeping" just out of sight on the tight, who could catch you unawares. As you move forward, another grunt will climb up from the left. Murder everything, obviously.
Our path is across the broken rooftops accessible by some planks on the side the grunt crawled up from. If you look to the end of this path you’ll see a patrolling grunt you may want to lure to you now, as another grunt is waiting to ambush you. It’ll happen just as you exit the little structure between the two broken rooftops, and comes from the right. Be careful not to fall off as you engage.
Sniping types can save themselves a bit of trouble here by clearing enemies in advance. If you peer down over the right side of the next rooftop just after the ambush you’ll spot an Evangelist below along with three grunts (if only two are visible, we’ll get the third one in a bit). If you put an arrow in them, they often run off the ledges to their deaths. Don’t move on yet; look up and right to spot a grunt hanging from a ledge to ambush you shortly. Ping!
There’s another nasty ambush coming. When you step onto the safety of the broad roof, two assassins drop down, one at each end. The one back towards the cathedral is standard, while the opposite is the nasty sword variant.
Next up: another ambush. As you approach the tempting item glow on the circular area ahead, another grunt climbs up to surprise you (two if you didn't shoot down the one you saw earlier). Slap him as he climbs so he falls to his death, then grab the Large Soul of an Unknown Traveller – and spin to face an assassin who drops down behind you on the tiles.
Three crossbowmen await ahead, in the hollow left by the U-shaped path. Melee characters will have to rush in; ranged characters can use the angle off the rooftop to their advantage. After they’re dead, descend slowly, checking for danger on your right; if you didn't put down the Evangelist and grunts, they may aggro here. There's one more enemy waiting at the bottom – a shield grunt. Don’t roll off the edge avoiding his explosion if it comes to that.
Ignore the long narrow path and instead move up onto the platform leading to the area where the Evangelist and grunts were - or are, if you haven't taken them down at range. There's an Undead Hunter Charm here. Head back in the opposite direction on this same platform. As you called immediately we’re glad to offer you a fabulous bonus: another ambush! Two assassins will drop down as you approach the treasure, but you can clear one in advance by shooting his foot where it's just visible, dangling down ahead of you. (If you like sniping you may want to take some shots at anything you can see from here, as almost nothing is clever enough to get to you, but there's rarely a good angle.)
Now the long narrow path. There’s usually a tall guy headed towards you by now and boy, have these guys powered up since High Wall of Lothric; don't under-estimate him. Lure him to you and kill him before advancing onto the path.
An archway on your left obviously triggers an ambush – but even knowing in advance, it's still very tough. The slower you go, and the quicker you retreat, the better - so you can avoid aggroing the whole pack of five assassins. When they're down, you can pick up a Soul of a Nameless Soldier, which is not at all worth the effort. If you take the stairs on the left as you move past this room, you can climb onto the roof and shoot another assassins above and behind you, which saves you some trouble later – if you survive that long.
Watch out for the exploding grunt on your left as you move towards the stairs. The two passives leaning on the railings won’t bother you if you don’t bother them – but two twinblade guards are wandering in the dark ahead. Lure them out one at a time, cheese them with arrows-and-run-away, or perhaps just sob quietly in a corner. Two grunts also patrol into this area, making it potentially even more hellish.
Once you can safely enter this area, head through and around the corner. See that group of passive in the distance ahead? It is, of course, a trap. You may want to come back to it in just a moment after opening he bonfire shortcut that’s so, so close, and along a relatively non-hazardous route. Whenever you choose to do it, watch out for two things: one of the “passives” is an ambushing grunt, and there’s a tall guy tucked around the corner from the item glow – which turns out to be a measly Ember.
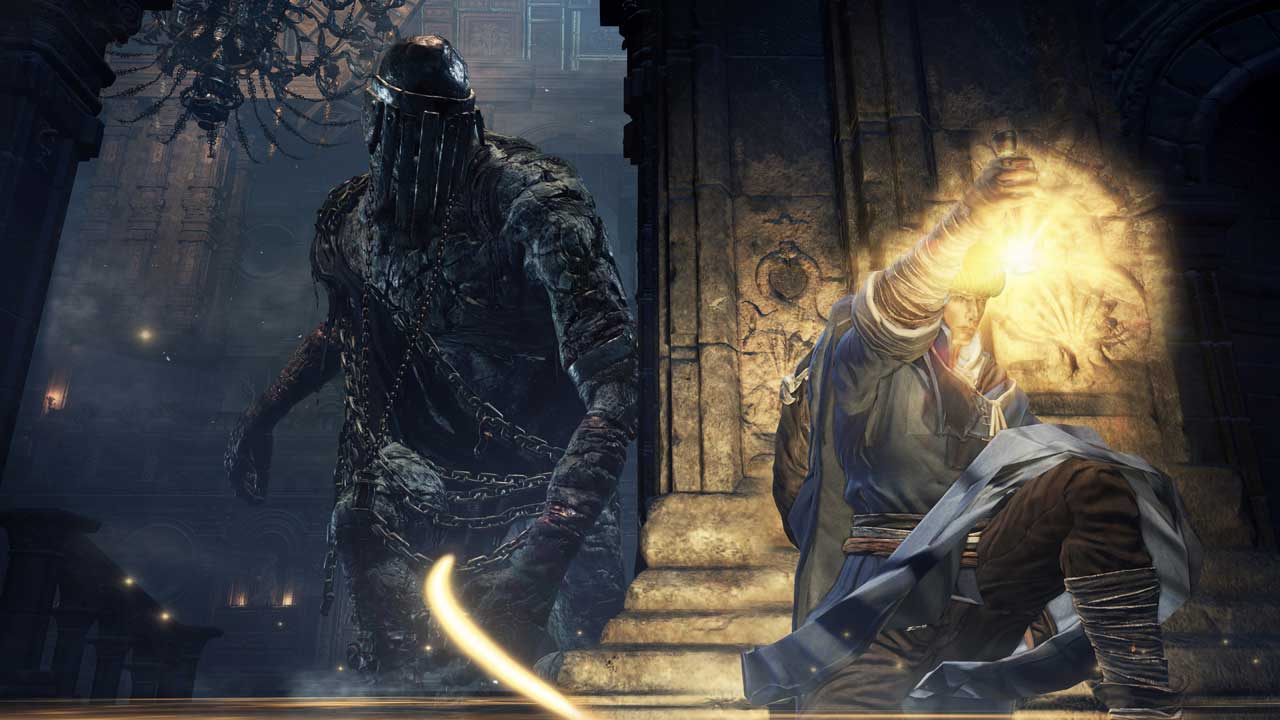
Anyway, whether you do that or not, open the doors along this balcony. Advance to the railings and peer over for an impressive sight indeed.
Take the left path, dispatching the slime on the way. These enemies move slowly and dislike fire, but they're implacable and surprise by dropping from ceilings for a powerful attack. The item at the end is a Duel Charm, but approaching it will trigger the statue to pour poison mist down on your head, so leap back once you've grabbed it.
There are three priests in the next room - one directly opposite, one just to the right of the entrance, and another by the exit. They're pretty weak and while their fire attacks are no joke they cast very slowly. You should have no trouble as long as you don't let them swarm you. If you are feeling a bit tired and overwrought, have a nice roll through the tables and chairs here. It is therapeutic and also the books stay in mid-air, which is the only funny thing in this forsaken hellhole.
Advance into the next room. In addition to the entrance you used, there are two further doorways and a lift. Take the lift! Follow the path, open the gate, open the doors, hug the bonfire like it’s your last night on Earth.
Cleansing Chapel: Loop 3
One more push, You can do this. From the bonfire, take the lift accessible through the newly-opened door and return to the room with multiple exits. The door directly opposite the lift is the main path forward, but before we take that, look for he stairs leading downwards to the right. Sneak quietly down and backstab the Evangelist to grab a Deep Gem. As you run back into the previous room a slime will probably drop on you, so be very careful as you leave the stairs.
Take the last door. All your questions about the sleeping figure will now be answered. Yes, it’s hostile. Your goal is a doorway on the opposite side of this area, and you need to get there while the giant attacks continuously.
Update: We describe killing the giant with ranged attacks later in this page but commenter Kalayzz points out you can do it now. Duck in and out through the door and only attack when the giant is standing up; it takes one tenth of the damage when it is crouched. We still think it's better to do this later, though; not being able to see the giant's health bar makes it difficult to judge whether you can get it done with your current supply of arrows.
The easiest way to get through here is to put on your lightest gear and sprint. Just sprint. Don’t stop to pick stuff up. Don't try to hide in cover. Don’t stop to fight the shield grunt. Just go. Raise your shield when you get round to far side, as there’s a crossbowman ahead. Duck into the archway and you'll be immediately safe.
If you do want the items within the giant's reach, you'll probably die a few times collecting them. There’s a Soul of a Nameless Soldier, some Exploding Bolts, and Lloyd’s Sword Ring.
When you're safely on the other side, go down the stairs until you reach a T-junction. Head left and continue on to a ladder. Up here you’ll find an Evangelist and possibly the crossbowman, if he didn’t fall down. There’s an Ember for your pains.
Go back down the ladder. Three assassins will ambush as you cross the bridge, but you can shoot them down in advance. There’s a slime waiting above the item glow on the other side; it’s the Seek Guidance miracle.
Go back to the T-junction at the bottom of the stairs and take the other path. The chest here is a Mimic, so don’t have a go unless you’re sure. It holds the Deep Braille Divine Tome, a key item (you might want to do some research before giving this to Irina at Firelink Shrine).
Take the exit and be wary of the Cathedral Knight who patrols towards you. He’s tough, and his mace does extra magic damage after he casts a spell, but he’s also slow and nothing compared to what you've faced so far. Almost a welcome distraction at this point, to be honest.
The door the knight came out of is our next stop, but in keeping with the theme of this wretched place you’ll be ambushed immediately. Take one step at a time through the door and roll back out as soon as you hear a clicking; a giant sort of spidery cat thing falls from the roof. It doesn’t seem to be able to get through the door, so you know what to do. It drops Aldrich’s Sapphire – a far better prize than the Ember you can see from the door.
Take the other door out of the previous room to stop on the threshold the central chamber. Yes, this is where the giants (there are two) are, but they won’t aggro unless you get close. There are items scattered around them, but the murk here will slow your movement, and is full of slimes. You might want to come back for the treasure later rather than throw yourself against it now.
Forget the giants: you have more immediate concerns: the statues along the walls of the galleries release poison mist as you pass, and there are assassins everywhere.
Your goal is an arch in the gallery opposite the one you're standing in. There's an assassin patrolling to your left, and two assassins waiting to drop down. A sword variant assassin is visible in the open of the central room.
There’s a Cathedral Knight patrolling the opposite gallery with two assassins. Another assassin is lurking to ambush you on the wall at the door end of the gallery. If you're not confident here, snipe the assassin on the wall, and wait for the others to patrol away before sneaking through the door. The item at the other end of the patrol is only a soul. Howeveer, if you do manage to bring him down, look for a lever you can pull among the pillars here.
Through the arch, go along and down and open the gate. This drops you out near the maggot beast right by the Giant Crystal Lizard. You can snipe him if it makes you feel better, but we’re not going down there. Follow the path and around the corner, ignore the lift on your right and open the doors at the end. It's the bonfire again! Hooray!
How to kill the giants and find Unbreakable Patches
At this point, which quick access to the bonfires and therefore little to lose, you can optionally kill the giants in the cathedral. They don't respawn, and there's some good loot around them.
The giant who attacks you on the upper ledge can be duelled; stand in the circular area along the bottom edge of the U shape formed by the three ledges, and face the giant without locking on. Dodge out of the way when he swipes and attack his hand after he strikes.
The second giant is not so easily defeated, but you can beat them both at their feet just by wailing away but leaving enough stamina to roll away when they stomp. Just be sure to clear out any slimes in the area first.
Alternately, both can be cheese with arrows. Find somewhere you can trigger them into standing up but quickly retreat back into an area that doesn't aggro them. Shoot two to three arrows into them while they're standing, then rinse and repeat. They take literally ten times as much damage standing as huddled. It takes a while but it's definitely not impossible.
The first giant is guarding a Soul of a Nameless Soldier, a Dung Pie, the Maiden set and a Large Titanite Shard. It also shielded a pair of doors; open both sets to reach the Saint Bident weapon and a couple of Homeward Bones.
Near the second giant you'll find a Pale Tongue, Soul of an Unknown Traveler, the Drang set and a Large Titanite Shard.
Opposite the second giant is a lever you can pull. If you then take the little set of stairs next to where the second giant was, you'll reach the main altar. The boss arena is round the back side of this altar, so this is one route to the boss - and because you raised a set of bridges, you can take the lift up to a balcony with two Duel Charms. Travel away from Cathedral of the Deep and come back to meet Unbreakable Patches on this balcony and retrieve Siegward's armour.
This seems to be the game's preferred route, but whether you do this optional section or not, it's worth taking the alternate route - and we'll still get Siegward's armour.
Continue via Cleansing Chapel to Rosaria's Bedchamber.
Back to Dark Souls 3 guide and walkthrough.