Dark Souls 3: Undead Settlement to Dilapidated Bridge
It's our first lengthy trawl. Are you ready?

Dark Souls 3: Undead Settlement to Dilapidated Bridge
Undead Settlement is a linear area, but there are multiple paths and it's definitely worth while exploring them all.
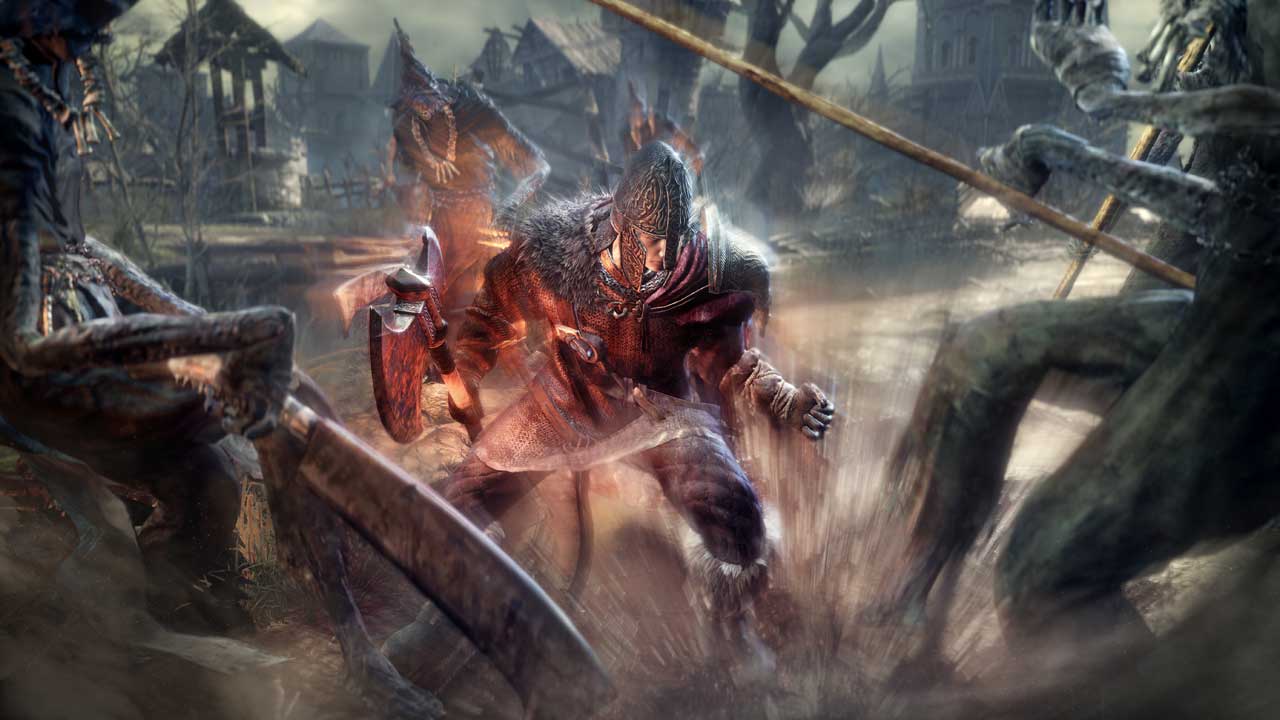
The lanky enemies here look tough, but they're just grunts. They also occasionally drop fire gems, which is great. Clear the two grunts with cleavers who stalk the path leading away from the Undead Settlement bonfire, and then a third grunt with a long pitchfork on your way to the barn-like structure ahead.
Inside, chop down the corpse with the item glow to grab a Small Leather Shield. With your back to the door, you can see a path to the left and rubble to the right. Rolling through the rubble allows you to get a view of the hooded enemy - an assassin - waiting to ambush you on the left path. You can drop down to his level and duel him, or snipe him from your perch here.
These hooded assassins are a real pain. They frequently ambush from above, attack with throwing knives and move quickly and unpredictably. After you hit them, they’ll sometimes immediately leap behind you and backstab – so never swing more than once. Try not to face them in groups. Try not to face them at all! Surprise and kill them before they aggro.
When the first assassin is dead, head down the stairs near where he was lurking. Collect the two Charcoal Pine Bundles then head out on the balcony outside. There’s a grunt with a pitchfork patrolling whom you can usually get a backstab on with good timing and stealth. Go to the end of his patrol route to grab the two Repair Powders, then return to chop down the corpse on your way back inside the barn. We’ll grab the treasure momentarily.
Back inside the barn and hug the left wall (as you enter from the balcony) to find the stairs down to the next level. Three assassins await you below. One is right by the stairs on your right as you descend, while another lurks in anti-clockwise corner. The third leaps down at you if you venture into the middle of the room. When it’s safe, grab another two Charcoal Pine Bundles from the far corner.
Exit the barn and proceed cautiously; there are a lot of enemies in the next area. You can sneak over and grab Loretta’s Bone without aggroing the group surrounding a burning tree. You can return this to Greirat in Firelink Shrine. The next time you return after this, he won’t sell you anything, but will give you the Curl Up emote. Don’t worry though; he’ll soon recover, and offer to go out looking for items on your behalf. See our NPC guide for more information.
The enemies around the burning tree won’t usually attack unless you get really up in their faces, but the Evangelist in the centre will aggro if you pass close enough. Lure her away from the pack so you don’t get swarmed. She hits hard with her long mace, casts a swarm of leeches or something from a distance, and will unleash fire spell after a longish wind up. Luckily, she’s not very hardy and pretty easy to interrupt. Keeping your distance and darting in to attack when she goes to cast works fairly well – and so does the good old arrow-run-rinse-repeat strat.
Back in the central area with the burning tree, clear out all the grunts – they’re all hostile, but they have very low detection and won’t chase you far, so it’s very easy to face them individually. When they’re all down you can collect a number of treasures from around the area – a Soul of an Unknown Traveller near a grate tucked away on the border of the area, an Estus Shard in front of the tree, and an Ember behind it. If you have a bow, you can shoot down a corpse in the tree; watch out for the enemy near where it falls. It holds nine Kukris. Finally, there’s a Titanite Shard on a porch on the lower paths; watch out for enemies here.
There are three exits from the flaming tree: a blind alley with a wooden door you can open set to one side; a longer tunnel; and a bridge patrolled by two grunts.
Let’s start by killing the two assassins in the long tunnel, to make sure they don’t drop down on us later. Next, back out and head for the door in the blind alley. Be careful in this dark room; there’s a hole hidden behind the crates just to your right as you enter. Approach the item glow cautiously; one of the cages of corpses is actually a living cage.
These weird beasts are vulnerable to thrust damage but not slash, so you might want to whip out a spear or rapier – or better yet, a bow. They sometimes hurl groups of four projectiles at you, which are easy to dodge at mid to long range. Close in, their attacks will drain your stamina fast if you’re relying on a shield for protection. Collect the Charcoal Pine Resin when this first one is dead.
Head over to the stairs opposite the door, cutting down the corpse so you can collect the Large Soul of a Deserted Corpse. Rather than go downstairs, fall down the hole near the door, into the locked room below. Collect the Warriors of Sunlight sigil. This group is all about jolly co-operation; see our covenant guide for more information. Drink the Estus Soup in the cauldron to restore your health if needed - or save it for a tough spot in a few minutes. Open the door when you’re ready.
None of the cages on your right as you exit are alive, but go around the corner and you’ll see one standing on its own. Watch closely to spot the telltale movement of an arm. It’s not blowing in the breeze! Murder the living cage.
There’s a red-eyed enemy in the corridor who’ll advance towards you once you move a little way in. These guys are a pain to fight at close quarters, especially with thrust weapons, because they sidestep all the time, including immediately after smacking against your shield. They’re fast and aggressive, but luckily not that tough health-wise. Slower builds will have more trouble.
Past that guy, the two most distant cages are living cages. (By the way, the hole in the ceiling just before the cages is where those two assassins from the tunnel will attack you if not already dispatched.)
After exiting this building, hug the right wall and look for some detritus you can roll through in a narrow alley. Follow the little cliff side path to reach another Large Soul of a Lone Traveller.
Now: this next path is guarded by another Evangelist. She fires at you non-stop as you move forward; it’s not great, to be honest. She’s unfortunately too far away to take much damage from arrows, so unless you’ve got some good spells, you need to get closer. There are three grunts on the path, including a new variant with a mallet, and you’ll want to lure them back and fight them out of the mage’s reach.
Advance slowly, using the boltholes on the right hand side to shelter from the mage. A fourth enemy will ambush you part way down from a plank-covered arch on the left; leg it back to safety when you hear his cover break. Return to the path and cautiously enter the area he came from; an assassin drops down from the left. When he’s dead you can collect a Whip.
Snipers with decent dexterity can easily drop the Evangelist from this room. Others will just have to keep avoiding her for now. There’s a crossroads just ahead; the left path is empty, but the right leads down to a hidden cliffside path where you can collect a Titanite Shard.
Continue on a short way to a small set of stairs to the left just before a covered area. Enter this area and climb the ladder to reach the Evangelist’s perch, duelling her if you haven't dropped her already. There’s another Titanite Shard in it for you.
Continue on through the little room with stairs. Now is a good time to heal up; you're very close to the next bonfire, but a serious obstacle is in your way if you’ve used an ember (or not died since the last boss). Be ready for a tough fight; as you pass through the door to the outside you’ll receive a notification that you’ve been invaded by mad dark spirit Holy Knight Hodrick. This NPC is a member of the Mound-makers covenant, and if you peer out the opposite door you’ll see his bright pink phantom coming towards you.
Lure him back to the nice empty crossroads and path you just cleared out rather than risk fighting in an unknown area. These phantoms are tougher than ordinary baddies because they’re similar to player characters. Hodrick can heal himself, and switch between a shield and sword and two-handed set up.
If you’re not confident duelling Hodrick, you may want to try peppering him with arrows; as long as his shield is up, and he’s moving away or towards you rather than strafing, you can easily hit him with lock-on. Pull him right back to near where you fought the cages and he may get a bit confused about the stairs, making your life easier. If you see him begin casting his spell, hammer him as hard as you can – it heals him much faster than you can damage him with a bow, unless you’ve been grinding. When Hodrick is down, you’ll receive a Veterbra Shackle for your pains, which is a Mound-makers covenant item.
Whether you face Hodrick or not, head on through the doorway out of the room with the stairs. You should hear a jingling on your right; make sure the enemy outside is a safe distance away (you don’t want him hitting you from behind) then dash around the corner to kill the Crystal Lizard. If you knock it down, you’ll get a Sharp Gem.
After the Crystal Lizard has been killed (or has run away), look down off the wooden palisade here to spot the next bonfire below. You can either drop down near the cart below and activate it now, or kill the patrolling woodsman first and walk in on the path under the broken arch.
When you do have a go at that patrolling woodsman, get his attention from a distance and he’ll charge at you with his saw. Roll forward as he strikes to get behind him, then give him a paddling. He’ll take several hits to kill and is very hard to stagger or interrupt at this level, so play it safe and back off after a few blows before having another go. He may drop a Titanite Shard for you the first time you beat him. These enemies are relatively common in Undead Settlement, and also sometimes initially carry pots instead of saws, which they'll hurl at ranged attackers before drawing a saw.
When you’re ready, activate the Dilapidated Bridge bonfire. Don’t be tempted by the path ahead; that way lies (almost) certain death. We need to clear the other half of the Undead Settlement first. We're only about a quarter of the way through this thing.
Continue via Undead Settlement to Cliff Underside.
Back to Dark Souls 3 guide and walkthrough.