Dark Souls 3: Tower on the Wall to Vordt of the Boreal Valley

Circle back to the first bonfire to unlock a shortcut to the boss, and collect a stack of great loot.

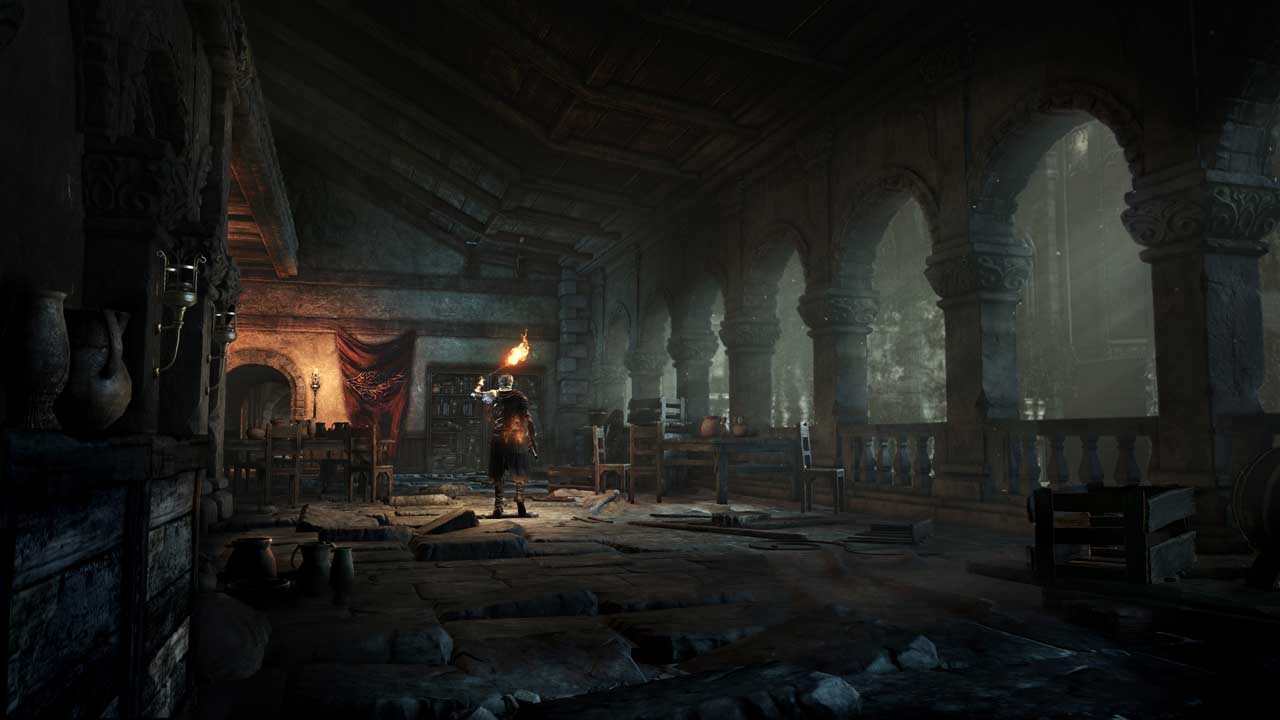
Dark Souls 3: Tower on the Wall to Vordt of the Boreal
From the Tower on the Wall bonfire, head down one level and re-enter the tower. If you rested or travelled, the ambushing thief will have respawned, but you can avoid fighting the knight again just by letting him walk away a bit before engaging the thief.
Descend the stairs and kill the two thieves. Exit the tower on this level and move slowly forward until a shield grunt climbs up from the opposite side. Lure him back towards you before killing him, then grab a Soul of a Deserted Corpse in a corner. Move forward; as you approach the ladder near the dead dragon you’ll be attacked by another grunt.
Take the ladder, and then very carefully approach the group of passives on the rooftop to collect the firebombs. Without disturbing them, with your back to the way you came, head down the rooftops hugging the left border. Go quiet and slow and you’ll spot a Crystal Lizard; kill it as quickly as you can to receive a gem for infusing weapons.
Unfortunately passing this area wakes up the snake beast among the passives you passed by a moment below. If you’re far enough away it won’t aggro; if it does, well, good luck, and maybe see you after you make your way back here. After you’ve killed the Crystal Lizard and harvested its goodies, feel free to cheese this baddie with arrows from the safety of the previous raised area; it can’t climb ladders. Stay a good way back from the ladder, though, as some of its attacks will hit you through stone.
When you’ve crossed the roof, climb down the ladder on one corner, near where you would have killed the Crystal Lizard, and watch out for an immediate attack by a crossbowman. Another crossbowman is waiting around the corner to shoot you when you attack the first one, and two grunts will climb up over the walls to defend the second crossbowman. After all that there’s a couple of firebombs in it for you. You can avoid this whole ambush by ignoring the second crossbowman and walking away, since we don’t want to go down the ladder over there just yet.
Instead, look near the lantern and two barrels near the ladder from the snake beast's rooftop for a ramp down to a lower rooftop. You can walk along here and collect a couple of black firebombs. Don’t bother chucking these at the hulking knight below; he takes just as much damage from the regular, more common firebombs – and he can also be cheesed with arrows, taking extra damage from head shots. Do this later; we’re not going that way just yet.
Return to the ladder from the snake beast's rooftop and step over the threshold of the nearby doorway. There’s a knight patrolling the rooms ahead. If you take one step in and stop, you’ll see him approach after a moment. You can take him out if you’re confident about beating him at close quarters, or you can cheese him with arrows; just ping him one, then climb the ladder all the way the top. You’ll know he’s given up when he thumps his spear on the ground and wanders off; rinse and repeat.
When he’s down, you can check out this area without fear of plate armoured death from behind. Enter the first door to the left and immediately attack the grunt to your left; with luck you’ll down him before the crossbowman opposite the doorway attacks. Alternately, use a ranged attack on the crossbowman to aggro both enemies, then fight the melee guy outside. When you’re safe from those two, you can roll through the vases, aggroing the grunt behind them but releasing two Undead Hunter Charms.
You’ll be ambushed by two grunts in the room beyond – immediately from the right, and then from the left as you push further in. Your reward is a Titanite Shard, though.
Go back to the room the knight was patrolling and hug the left wall to find a Soul of a Deserted Corpse. Pass through the door you haven’t used yet and look out for an opening on the left, where another grunt ambush awaits (of course). There’s a Broadsword at the back of this room.
A short optional diversion: stop and search the wall nearly opposite this room to find an opening filled with crates and other rubbish. You can run down this path and collect some Green Blossom, then clear more rubbish at the end to drop down to a crate with an Astora Straight Sword. The balcony you end up on is a nice place to ping arrows at the dog and three tall guys below, although you'll have to do a bit of fiddly back and forth-ing. Dropping right down into all of them at once is pretty risky at low levels. If you'd rather not do this bit, just follow the corridor and take the stairs.
Search near the stairs for a path leading to a corridor leading around the upper edges of the room. There are two grunts here, but also a chest with a Silver Eagle Kite Shield. This has 100% physical damage absorption but is quite light, making it a great early option.
On the bottom floor, grab the Titanite Shard hidden in the fireplace near the stairs and the Estus Shard from one side of the room. This is a very precious item you can give to Andre at Firelink Shrine in return for an extra swig of Estus during each life.
Be wary as you approach the area where the two tall guys were patrolling, as there’s another dog lurking down some stairs. Kill it and you can grab the Cell Key from the corpse.
This is a dead end. You have two choices from here:
- Exit this room via the balcony, cheesing the hulking knight from this perch or dropping down to duel him.
- Return to where two crossbowmen tried to ambush you, optionally pausing to cheese the big knight from the lower rooftop on the way, and take the ladder down to the hulking knight's patrol area. You’ll be attacked by two grunts at the bottom of the ladder.
However you get down here and defeat the knight, search around for two Embers and a Rapier, being wary of the one corpse that comes back to life (just a grunt, fortunately).
Pass through the large gate and immediately turn right, shield up, to fend off a crossbowman's attack. Dash up the stairs and slaughter him, then turn to face the grunt who will almost certainly aggro from below to come for you. Once you’re safe, move into the covered area and immediately turn around, taking another set of stairs up. Here you can collect a Large Soul of a Deserted Corpse and, by jumping over to the rooftop, a Ring of Sacrifice.
Return to where you exited the hulking knight's area and survey the stairs leading to the cathedral off to your left. Grab the Soul of a Deserted Corpse on your left to start, then study the layout. The stairs to the right and down lead to a boss. Up goes to the cathedral. There are two knights patrolling the stairs and a third knight on a side path opposite the entrance to this area. The easiest way to reach the cathedral is to sneak past the two knights and fight the third one. This also allows you to collect the Lucerne weapon here.
If you do want to take down all the knights in this area, it gives you a chance to have a go at the one with the blue cape down the left hand path as you face the cathedral doors. He’s a red-eye knight – much tougher than the others – but if you kill him you’ll receive a Refined Gem, and possibly a Lothric Knight Armour drop.
In the cathedral, there’s nothing to do but speak to the NPC on the chair at then end: Emma, High Priestess of Lothric Castle. She’ll give you the Small Lothric Banner, a key item. Talk to her a second time to receive the Way of Blue sigil. Equip this and a Blue Sentinel will be summoned automatically to help you if you’ve been invaded.
Your next stop is to unlock the shortcut. Head back to the stairs where you fought the crossbowman and his buddy. Previously you took some stairs to a couple of treasures; this time you want to keep going forward to an open courtyard.
Don’t be tempted by the lone grunt here; hug the left wall to grab three Green Blossoms, then prepare to face a pack of grunts which ambushes you as you move further into the area. All but the initial bait are very weak, and you can run back the way you came to lose them, making it easy to engage them one by one.
Take the elevator in the room beyond the courtyard (it activates when you step on the plate) to grab six Throwing Knives and unlock a gate leading back to the High Wall of Lothric bonfire. Remember any enemies will have respawned if you’ve been to a bonfire since your last visit to this area.
Greirat of the Undead Settlement
Optionally, before we make a run on the boss you can unlock an important NPC vendor. Return to Tower on the Wall, possibly travelling from the nearby High Wall of Lothric bonfire. Backtracking across the rooftops is not recommended if you left the snake beast alive. From Tower on the Wall, descend two levels, killing the three thieves and optionally the knight you meet on the way if you used a bonfire. Take the ladder down to the bottom floor.
A tall guy is waiting here. The barred door won’t open yet, so go the other way to a tight room full of barrels – and a grunt with firebombs. These really hurt, especially when they hit explosive barrels, so be careful. You can collect eight Throwing Knives from a corpse here. There’s another thief off to the left as you pass into the next room, so deal with him before you go for the item. It’s a Mail Breaker sword.
Continue along the path until you reach a locked door you can open with the Cell Key. Speak to the NPC inside, Greirat of the Undead Settlement, and agree to his request to deliver a Blue Tearstone Ring. You can equip and use this now, it's fine. After your chat, Greirat will move to Firelink Shrine, downstairs from Andre. He sells all sorts of good stuff and you can expand his inventory; see our NPC guide for more information.
That's pretty much it for High Wall of Lothric. Let's fight the boss: Vordt of the Boreal Valley.
Continue to Vordt of the Boreal Valley.
Back to Dark Souls 3 guide and walkthrough.