Dark Souls 3: Keep Ruins to Old Wolf of Farron
Oh boy oh boy: this is horrible.

Dark Souls 3: Keep Ruins to Old Wolf of Farron
Were you glad to get out of that last swamp? This one's even worse! Never mind, at least it's not Cathedral of the Deep. We'll go there later.
Walking down the ramp from the Keep Ruins Bonfire, your eventual goal is right ahead of you – those big doors. But you need to extinguish the third flame first.
There’s a dog variant satyr off to your left. After it’s dead it’s relatively safe to drop down off the left side of the ramp and grab a Titanite Shard. If you look on in the direction the dog was you’ll see a stack of item glows. They’re guarded by a king crab and another dog satyr.
If you’d like that treasure, and a key item nearby, then prepare for a bit of a slog. If you'd like to skip this bit, head down to the next heading.
First of all: accept that you will be poisoned and make sure you can keep topping up your health as it drains. And, as unusual as it sounds, start by returning to the Keep Ruins bonfire and clearing out the three satyrs (if they’ve respawned). Now face the bridge back towards the previous flame and look right. See those three swamp beasts? Yeah.
As well as moving alarmingly quickly and hitting with powerful melee sweeps, these things have a magic spell that sends glowing skulls your way; roll to avoid them when they close in, as they’ll seek you mercilessly. If you want to duel them face to face feel free, but do use this vantage point to lure them over one by one, as three at once is a daunting task – clear out the dog satyrs beneath the bridge first if you decide to do it this way. If you elect to cheese the three beasts, equip your best magic resist gear and be ready to roll out of the way of the spells which will come for you; the audio cue is hard to miss.
When all three are down, you should receive the Black Bow of Pharis as well as Pharis’s Hat if you cheesed them with arrows. Also, you’ll be able to get that item you can see out there; we’ll come to that in a minute or two (if you want to make sure you get it without having to kill the swamp beasts again if you die over the next few minutes, drop down from the bridge on the side closest to it and go grab it now).
The swamp where the items are is deep, meaning you can’t sprint. You can either use stealth (perhaps a Young White Branch?) to sneak past the king crab, or just keep out of its way as you roll around collecting things; with luck it will get stuck on a tree. There’s an Ember, a couple of Young White Branches, a Large Soul of a Nameless Soldier, and the Crown of Dusk, a pretty useful hat.
Once you’ve got what you came for (don’t miss the one behind the tree!) don’t head back the way you came. Make for the safety of the more shallow swamp to get away from the king crab, then move further around the hill where you extinguished the flame, in an anti-clockwise direction – as if you’d turned left at the bottom of the ramp, and just kept going.
Scan the wall on the far side of this area until you spot some solid ground. Two satyrs are waiting here among some dead mushrooms. Dispatch them, then collect the Sage’s Scroll. You can take this to Ordbeck to unlock new sorceries and advance his questline.
Before you head back to the main path, continue to follow the wall around a bit further, so you can grab the Poison Gem previously guarded by the three swamp beasts. That’s all the optional stuff here; head back to the bonfire and heal up for the path to the next flame.
To the third flame
From the bottom of the ramp from the Keep Ruins bonfire, there's a tower on your right. There’s a slug on the wall hoping to drop down and surprise you, and the inside is an absolute slug fest; it’s very dangerous to dive right in - but there’s an Undead Bone Shard inside.
Just past the tower, looking right again, is a ladder surrounded by a bunch of slugs. Bear it in mind, as we’ll be back here shortly.
From here on in the swamp is too deep to sprint; roll to move faster. Tucked away around the corner from the ladder is some Wolfsblood Sword Grass. On the hill is the Sunlight Talisman and a cauldron of Estus Soup; save this for when you really need a health refill.
Return to the island between the ladder and the tower and look out over the swamp. You want to roll from island to island, following the fires – but there are two more swamp beasts in your way, which need to be cleared or crept past. Not confident face-to-face? Lure them back to the tower and fight them there. Although the swamp beasts can’t fit through the arches, their melee attacks can and will hit you even through the walls, so stay on the opposite side from the enemy and use the doors to quickly change sides when it chase after you rather than as an absolute shelter.
You can pick up two more Titanite Shards and the full Nameless Knight gear set around the borders of this area as you proceed. There’s an item glow out on a broken bit of bridge; it’s actually almost equidistant from fires in multiple regions of the swamp, but this is where you’re likely to see it. It’s only Purple Moss Clumps and not really worth the trip.
Climb the stairs to the third flame and extinguish it, collecting the Rusted Gold Coin and Homeward Bone from nearby; there’s a hidden path near the tree by the altar.
There are stairs leading up and away from this area – look for the crosses that block entrance till you roll through. There’s a quick path back to the bonfire, as well as some tasty loot including a key item – but it’s also extremely nasty down here. Scroll down to the next heading if you’d rather skip it by walking back the way you came until you get to the tower.
Braving it? For starters, mind the leaping satyr on the stairs. You won’t see more of these guys from here on in, but there’s something worse instead: basilisks. These guys spray a mist that inflicts curse. This status builds up very quickly indeed, and kills you. Equip your best resist gear, but also do your best to kill them at a distance, or before they attack. If they emit a cloud, roll away several times and don’t wander back in. Don't get swarmed. Ever.
There are two general directions from the bottom of the stairs. Turning right and doubling back along the hill the flame was on eventually leads back to the starting area, and its full of basilisks. There’s a Large Soul of a Nameless Soldier here and nothing else. Not worth it in any way.
If you move past the path leading back to the starting zone and then hug the right wall, killing multiple basilisks on the way, you’ll pick up some Repair Powder and reach an area of more shallow swamp. Keep hugging the wall and enter the cave collect a Golden Scroll (another key item for Ordbeck) and the Antiquated set from a chest. If you really want these items but can't bear the basilisks, keep it in mind for later; there is a cheese method we'll point out when the time comes.
From here, the quickest way back to the tower is to hug the right wall until you spot the tower near the ladder opposite the big gates. Don’t worry about the swamp beast; just keep your distance.
To Old Wolf of Farron
However you make your way back, your next stop is the ladder near the tower before the third flame and climb. At the top, ignore the arch and circle the building anti-clockwise; there’s a Crystal Lizard on the opposite side you can murder for an upgrade gem.
Go back the way you came but stop at the first corner. There’s an illusory wall you can pass through after attacking to dispel it, leading to the Dreamchaser’s Ashes. Trade these with the Shrine Handmaiden (and tell her where it came from) to unlock the Exile set, Leather set, Titanite Shards, plus various weapons and consumables. This also advances Sirris’s questine.
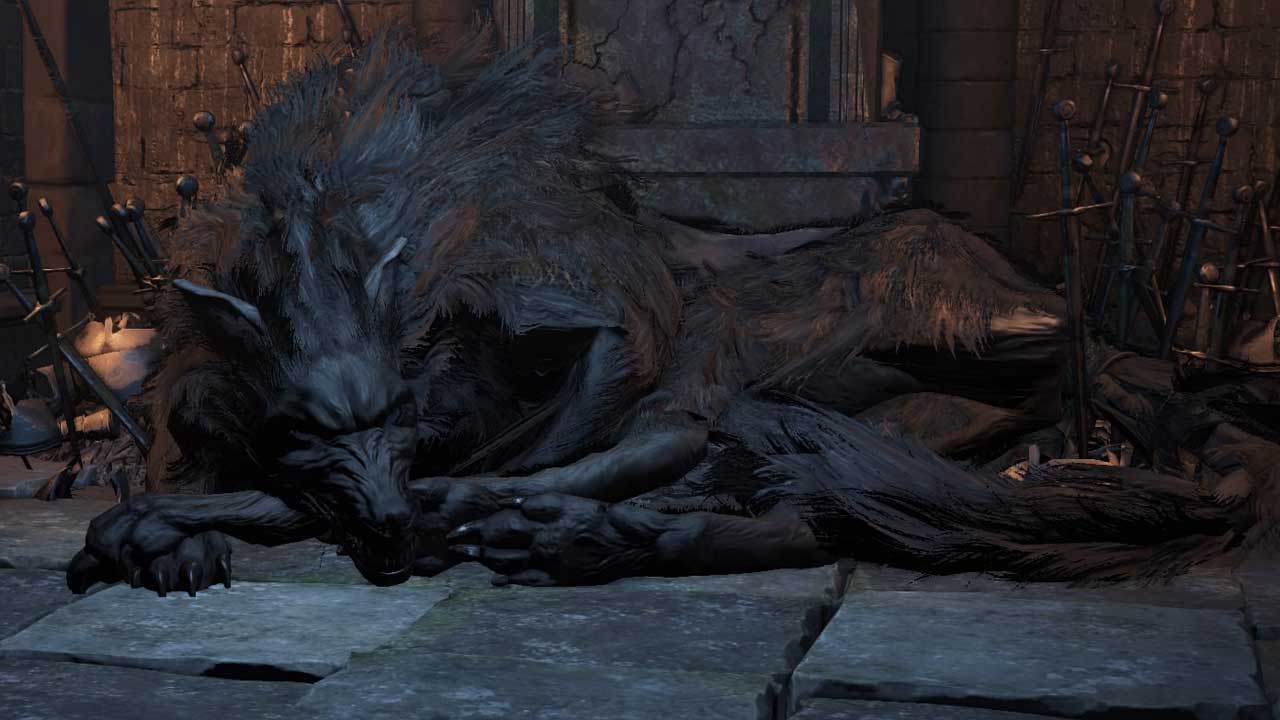
As you no doubt saw through the other end of the hidden passage, there’s a bonfire inside this building. Drop down or run back around to the door and activate the Old Wolf of Farron bonfire.
Having extinguished all three flames, you can pray to the Old Wolf to receive the Legion Etiquette emote and join the Watchdogs of Farron. This group will be automatically summoned to help battle those who explore the Farron woods. There’s no penalty for switching out of this covenant and the auto-summoning won’t occur unless you equip the sigil, so feel free to join; you’ll get an achievement for it. You can offer your Wolf’s Blood Swordgrass here while you’re at it.
From here you can tackle on optional boss or push into the next zone; we'll assume you want to clear the optional boss.
Continue via Old Wold of Farron to optional Stray Demon boss.
Back to Dark Souls 3 guide and walkthrough.