Dark Souls 3: Firelink Shrine hub guide
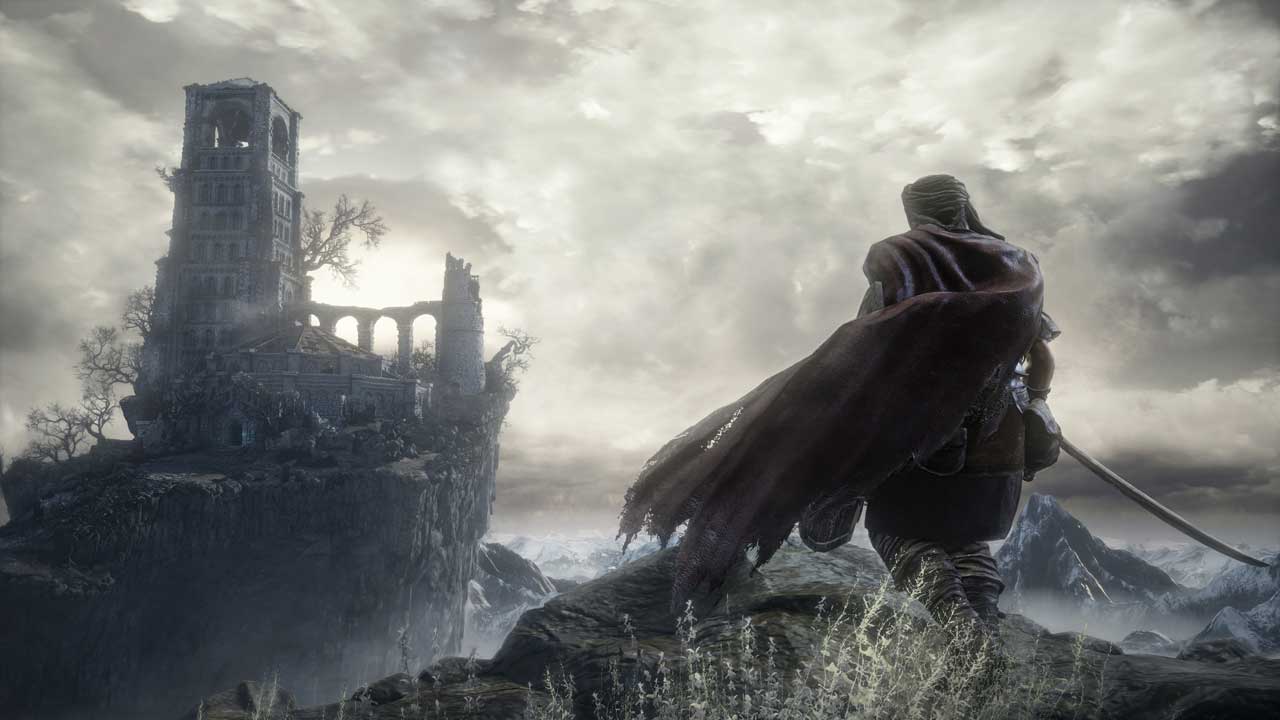
Firelink Shrine is your haven against the horrors of Dark Souls 3.

Dark Souls 3: Firelink Shrine hub guide
Welcome to Firelink Shrine. This area serves as your main hub. It's full of friendly NPCs who provide vital services; never attack anybody in here. If you’re using a control pad with triggers, be careful about putting it down and picking it up in here, lest you accidentally hit someone.
If you're looking for details on how to recruit NPCs, expand their inventories and complete their sidequests, see our (spoiler-filled!) NPC guide.
From the doors, you can get down to the ground floor by walking to the edge of the platform by the door, then taking the stairs to the right. Acivate the Firelink Shrine bonfire with the Coiled Sword you got from Iudex Gundyr.
This bonfire has an extra feature not available out in the world: burning Undead Bone Shards. We don't have any yet, but when you find one, bring it back here to upgrade your Estus flask so it restores more health with each use.
Let's have a chat to the people in this area. The glum-looking bloke usually seated on the stairs near the bonfire is Hawkwood. He's a bit depressed about the whole unkindled thing, and will give you the Collapse emote.
The masked woman found in the vicinity of the bonfire is the Fire Keeper, and she is your best friend: talk to her to level up. (See our beginner PvE build guide Cheeseburger Assassin if you'd like some tips.)
Take the tunnel leading under the main doors and talk to the Shrine Handmaid. She's your primary vendor. Her initial selection of goodies is limited, but her inventory can be expanded by giving her ashes, a type of key item. Take note of the White Sign Soapstone she has for sale if you'd like to volunteer for co-op with other players. She can be killed, but will respawn and jack her prices up - repeatedly, if you are so foolish as to murder her again.
Continue on down the tunnel to meet Andre the Smith. Talk to him several times to unlock the Hurrah emote. He has several important abilities you should familiarise yourself with:
- Repair equipment
Generally unnecessary unless you're using very fragile or improper gear - or in certain hazardous situations. - Reinforce weapon
Use Titanite materials to upgrade weapons and shields. - Infuse Weapons
Use various upgrade materials to alter weapon type or add magical effects to melee weapons and shields. - Allocate Estus
Determine how many uses of health and FP boosts you want to carry with you. - Upgrade Estus flask
Turn in an Estus Shard to unlock an extra Estus use.
Andre can be killed, but will respawn and then refuse to upgrade weapons for you for the rest of the playthrough. You can give coal (a type of key item) to Andre to expand his available weapon reinforcements.
Use the stairs to walk behind the thrones arranged around the bonfire (you can read the inscriptions on the back) and look for the one labelled Ludleth the Exiled. Ludleth of Courland is seated on this throne, and you can chat to him without dropping down onto the podium if you position yourself looking over the arm of the throne. Later on he'll offer transposition, allowing you to turn boss souls into powerful items - so remember never to just casually cash in a boss soul! See our transposition guide for more information.
There's one other NPC to speak to before heading on: Leonhard. This dark fellow is found leaning on Lothric's throne. He'll give you five Cracked Red Eye Orbs and encourage you to try your hand at PvP.
As you travel, you can unlock further NPCs, both as permanent vendors and as visitors; see our NPC guide for more details (and some spoilers).
Right now, there's no a lot else to do here - although there's a Soul of a Deserted Corpse if you wander outside using the side entrance in the upper reaches. There's a Giant Tree which will sometimes drop seeds you can use to make invader battles easier.
There's some optional treasure hunting available here, but you'll probably want to leave it for later; scroll down below the image for details. Our next destination is High Wall of Lothric; travel there via the bonfire.
Continue via High Wall of Lothric to Tower on the Wall.
Optional treasure hunting
The Shrine Handmaid sells a Tower Key for 20,000 souls. You'll easily be able to raise this cash in later stages of the game, so it's best to leave this for now. When you can afford it, you can grab some great loot and unlock a useful NPC.
With key in hand, take the side exit from Firelink Shrine, passing the Giant Tree to open the gate to the tower.
Start crossing the bridge but fall off halfway along the bridge where the masonry has crumbled; use Spook or the Silvercat Ring or you'll take damage. Immediately turn left and kick down the ladder so you can return here more easily. We’ll be back in a sec.
Search along the rooftop on this side until you see an item glow; drop down and collect the Homeward Bones. (While you're on this roof, you might want to run around the far side and snipe at Sword Master if you're yet to collect the Uchigatana; use an Alluring Skull to bring him back if he escapes your range.)
Don’t drop down just yet, but walk around the this lower rooftop until you reach a doorway leading back into the shrine. Cross the beams to collect an Estus Shard, and then attack the illusory wall on the far side. Continue right to the end and drop down, where a chest holds the Silver Covetous Serpent Ring. Drop back down to ground level behind Lothric's throne.
Climb back up onto the roof of the shrine using the ladder, and visit the nest at the apex of the main hall. This is where you can interact with Picklepum the Crow. You can drop items for exchange by standing in the next, selecting them in your inventory and choosing “Leave”. The crow will tell you if it likes or dislikes your gifts. If it likes them, the items will be instantly swapped for other stuff.
For now, move to the back of the shrine, away from the main doors, and drop down to kill a Crystal Lizard for its Twinkling Titanite.
Return to the tower, and this time, cross the bridge and take the lift. Follow the stairs and move forward to collect the Fire Keeper’s Soul. Give this to the Fire Keeper to enable her to heal the Dark Sigil, if you are so afflicted – but be advised that hit has consequences. You’d better look our endings guide first.
Take the lift back down. If you have killed Sword Master or aren’t afraid to meet him, you can grab some extra items inside this tower. Cast Spook or equip the Silvercat Ring if you have it, then dash-leap off the side of the bridge towards the item glow below – the Fire Keeper set.
Fall down (use Spook again!) and you can collect the other glow here; it’s an Estus Ring. Open the gate and step out to find yourself on the other side of the Shrine where Sword Master guy hangs out.
That's your lot here.
Back to Dark Souls 3 guide and walkthrough.