Dark Souls 3: Crucifixion Woods to Crystal Sage
A nasty slog through an area thronging with hungry baddies.

Dark Souls 3: Crucifixion Woods to Crystal Sage
The trek to the Crystal Sage is a bit of a chore, though you'll be able to skip a lot of it after you've ticked a few boxes.
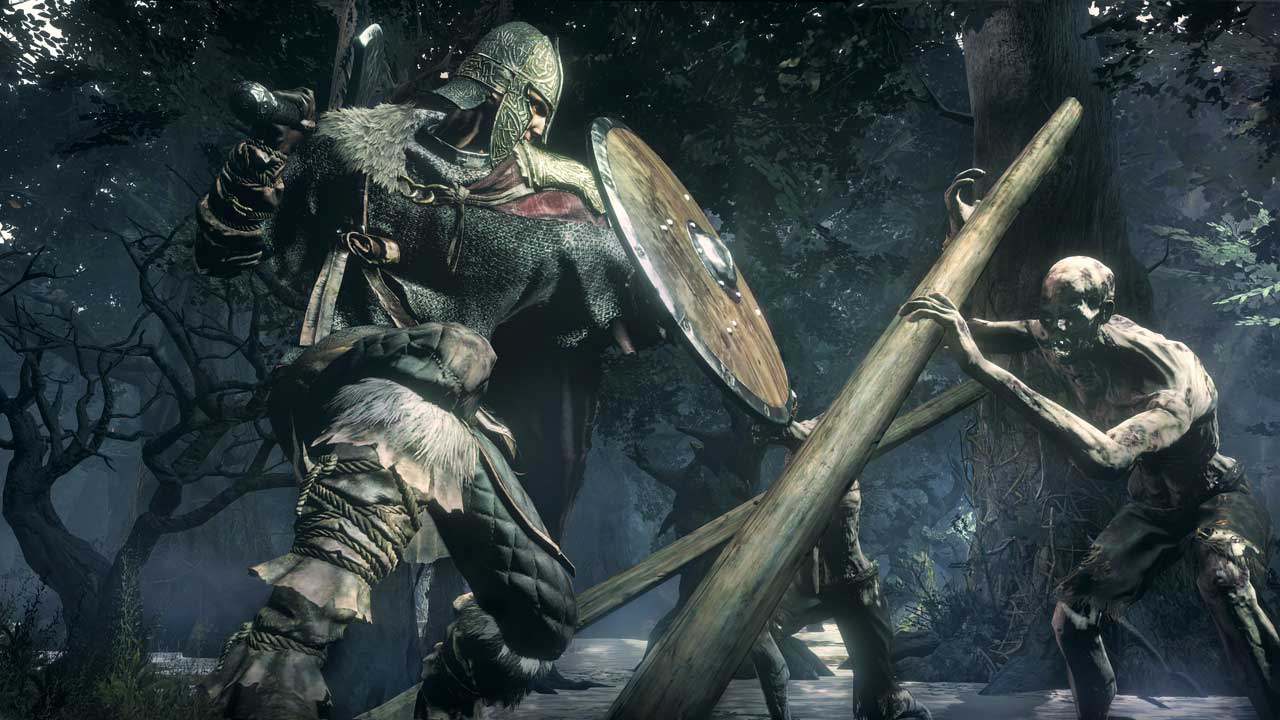
Facing the swamp at the Crucifixion Woods bonfire, turn left and move forward, eventually approaching a large building. Kill the two yokels you encounter here, then circle the building clockwise so you pass between it and a cliff. Kill the two yokels at the end of this path, then look around the corner. At the far end you should spot two crucifixion victims. Cheese them both from here if you’d rather not duel them face to face in a few minutes; they can't climb this ledge and aren't bright enough to go around.
Circle the building in the other direction and walk down the path between it and the next structure. Fight the two crucifixion victims (one at a time!) if you didn’t cheese them. When it’s safe to pass, grab the Ember by the fire and the Estus Shard at the very far end of the path, around the corner.
Now go back around the first building and enter the little hole on the wall facing the bonfire. Most of the figures in here are passives. There’s an overseer in the middle who will aggro the passives if you’ve hurt any and he manages to get a scream off – just like on the High Wall of Lothric. More worryingly, there’s also a spell caster; look for the sage hat. Remember that some shields will protect you against magic while others will not. When all the enemies are down, collect the Heretic’s Staff tucked away in a corner on the bottom floor.
Take the stairs and cross the bridge. A shield grunt is waiting just inside the door. There are three paths here – it looks like two, but there’s one on your left, too. The middle path leads to the exit. The left path unlocks an NPC. The right path goes to a Crystal Lizard.
First, turn right and follow the corridor, stopping just around the corner. See the lizard? It will make right for the opposite end of the corridor, and a grunt will ambush you from the doorway on the right, so mind how you go.
Don’t bother with the rest of this path; we’ll be back later. Instead, return to the entrance of the building where there are three paths. We need to clear the baddies out of the central room so we can unlock the NPC on the left. It’s a nasty spot, made nastier by a hole in the floor that will drop you right down into the arms of a crucifixion victim, which we don't want right now.
Directly across from the entrance is a spell caster. Another, more powerful spell caster will patrol into this area once you’ve started smacking heads a little way into the room. There are three grunts who will aggro and rush you if you make a lot of noise over the threshold, including on with a shield, and another shield grunt further ahead who rarely gets involved until you’re in the middle of the room.
If you’re a cheesy ranged character, stay well back and snipe the first spell caster, then take a few steps while sneaking around the grunts to trigger the patrol of the second one. Snipe him, too. You can then approach and melee the grunts on either side of the door, then the two ahead, individually. More confrontational players may prefer to dart in and pull the grunts back out into the corridor to put them down before charging in at the spell casters.
In any case, once you’re safe, return to the entrance and go out through the arch on the left (facing into the central room). Don’t worry about the broken-looking ground; you won’t slip down to where the crucifixion victims were if you hug the right wall. Keep pushing forward around the corner to a set of stairs.
Upstairs you’ll find Orbeck of Vinheim, a friendly NPC. If your intelligence stat is ten or greater, you can ask him to teach you sorceries, and promise to bring him any scrolls you find. He’ll transport to Firelink Shrine as a sorcery vendor; see our NPC guide for more information. The more the merrier. When he’s gone, enjoy a good roll through all his stuff. Glorious. Circle around this upper level and look for the stairs down so you can grab a Blue Bug Pellet.
That’s everything here, so head out the door opposite the entrance to this crowded building. There’s a boss arena just ahead.
Continue to Crystal Sage boss fight.
Back to Dark Souls 3 guide and walkthrough.