Destiny’s King’s Fall Raid guide – Golgoroth
It's billed as the toughest fight in Destiny: The Taken King, but this King’s Fall encounter is swiftly conquered with this elegant strategy. Here's how to escape the Cellar and kill the boss.

How to escape Golgoroth’s Cellar
After defeating the Warpriest, walk straight through the portal. You'll now find yourself in Golgoroth's Cellar. This pitch-black maze can easily get you lost, but has a basic layout to help you escape. To exit just take a right, then a left, left again, one more right then move straight ahead toward the lights. You all need to be standing next to the door for it to open.

You’ll most likely want the secret chest, however. So split your team into five guys that head into the darkness while one stays put to serve as return point in case the others get lost. The first guy takes the immediate left from the entrance hall, heading all the way to stand beside, not yet on top of, a pressure plate in front of a door. There’s a Calcified Fragment on a rock here, too.
Your second guy takes the immediate right from the entrance hall to stand beside the pressure plate there. The next two are tricky. Plate three is reached by heading right, then left, left once more then all the way down to the door. However the pressure plate is hidden in a small space behind this door that requires leaping from a helpful pillar.
Your fourth scout will stand ready beside the pressure plate, heading right, left, left, right, right again then all the way to the end. Finally have one more guy stand outside the chest door, which is halfway along the corridor that you sent player three.
The pressure plates must now be activated in order, which is player three, two, one then four. There is a click each time the correct pressure plate is activated. If the sequence is wrong at any time there is a loud banging sound that you’ll want to cease immediately by stepping off the plates.
You can reach the cellar exit from the chest room by proceeding directly ahead.
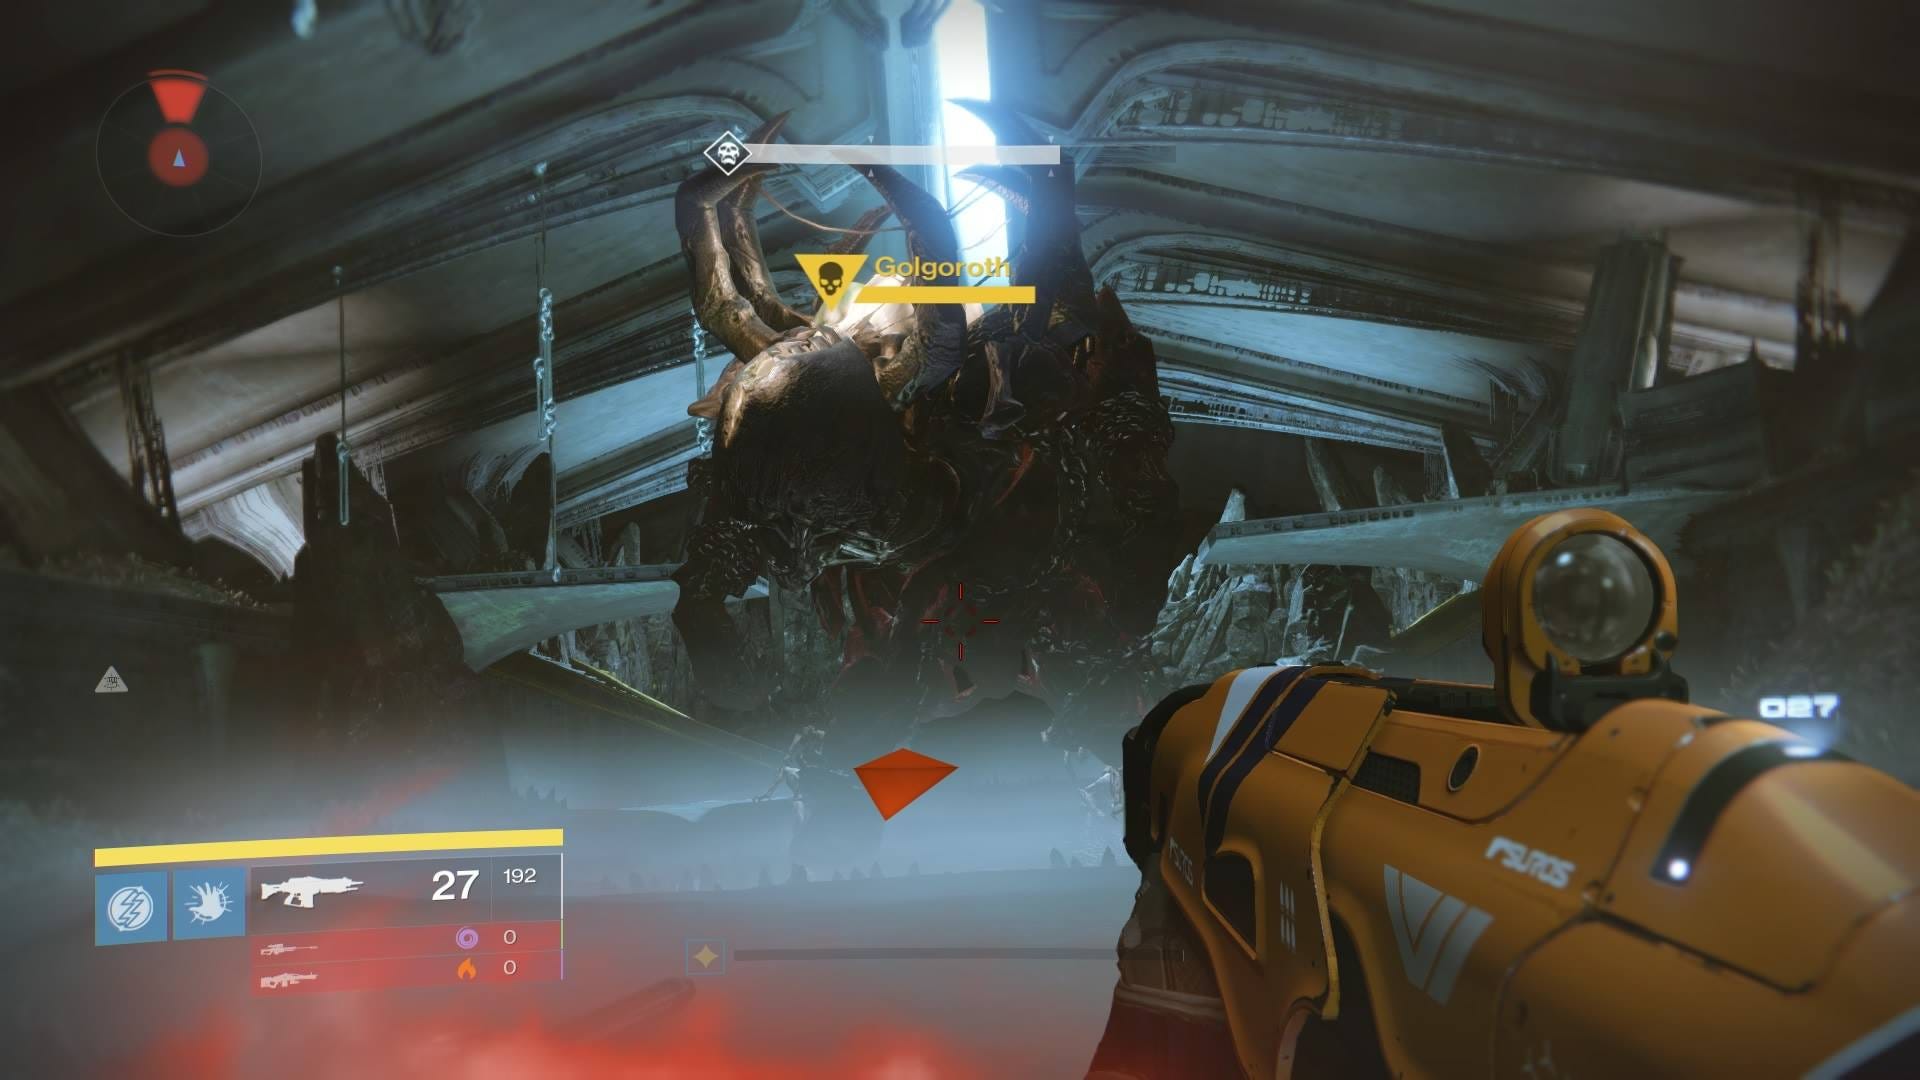
How to defeat Golgoroth
Now walk through the Cellar exit and into the Golgoroth boss fight.
There are two main responsibilities shared among the fireteam when tackling this Exalted Hive Ogre. Two volunteers attract Golgoroth’s attention, leaving the final four to serve as your execution squad. It also helps to split the fireteam into groups of three, to clear adds that invade the chamber from corridors positioned left and right. The latter should only be required once, but is also a fallback.
Observing Golgoroth’s lair from the entrance, your attention is drawn to the ceiling from the centre of which an orb is hanging. Shooting this starts the event, so ignore this for now. Soon after the fight is underway, a further six more orbs appear on the ceiling, arranged in neat rows of three, both left and right. It helps to name these for identification, and we’ve been using L1, L2, L3 and R1, R2, R3, with the lowest number being the one closest to the front.
Shooting any of the orbs causes them to crack and break, releasing fluid that forms a puddle in the pit down below. The first, central orb summons the beast. The others provide a damage buff for Guardians shooting Golgoroth’s exposed midriff. They are only able to do so while the Ogre is distracted. The key to this whole thing is allowing the fireteam to sustain DPS while our two volunteers position themselves in a way that keeps their comrades in damage-boosting gunk.
The most impressive method we have encountered so far is to keep Golgoroth moving from L1 through L3, and then R1 through R3, saving transition time while increasing damage potential.
From the top, then.

Shoot the orb in the centre of the ceiling to begin the encounter. Golgoroth appears, aiming his Eye Blast any which way while adds emerge from the left and right corridors. Your two teams of three take them all down, being careful to leave the Adepts until last because killing them enrages the entire group, making the task trickier enough to cause frustrating deaths.
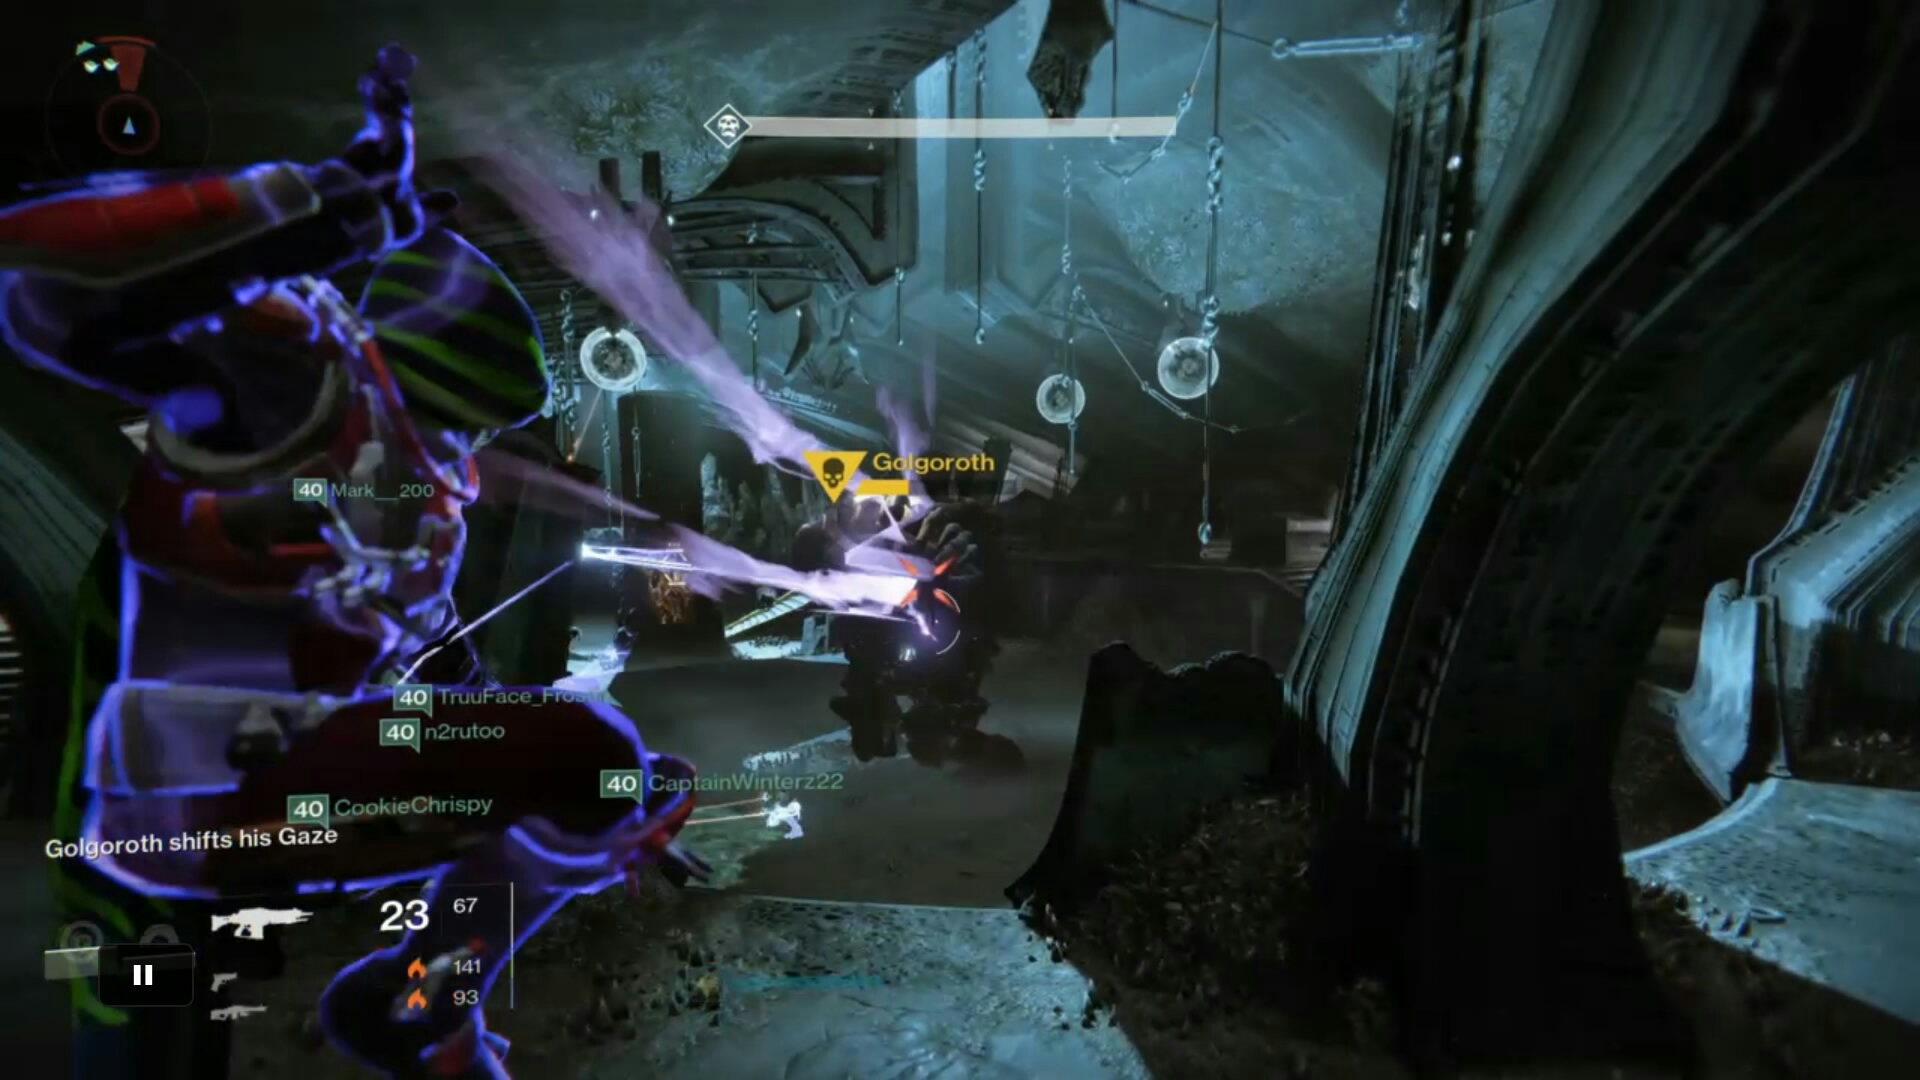
When you’re down to the last couple of adds, which is likely to be the Adepts on the bridge, have your human bait get ready on the left corner of the room. One of them should stand on the box to get line of sight at the Ogre’s back. While one of the Gaze-grabbing Guardians finishes off the adds at the bridge, the four-man unit shoots out the L1 orb in preparation to jump down. As soon as the final add is killed, the first Guardian to attract Golgoroth’s Gaze shoots at his back until he sees the message “Golgoroth focuses his rage”. Even though the rest of the team receives the message “Golgoroth shifts his Gaze,” he should clearly communicate that he has Golgoroth’s attention, at which point the four-man team jumps into the puddle below and starts shooting at Golgoroth’s belly.
There is a 20 second countdown for the under-fire Guardian to survive Eye Blasts and shoot down homing missiles heading his way. When the timer gets to 10, he should give a clear countdown so that on the count of five, the team in the pit can start working on the L2 orb, while his Gaze-grabbing wingman takes up position on the corner box to shoot at Golgoroth’s back, again, clearly notifying the pit crew if this has been successful. By now the second orb is down close by, so that the DPS can continue without interruption.
While the second Gaze is being held, the first Gazer guy runs to take up position on the left hand side of the bridge, in clear view of the Ogre’s back. When the countdown reaches five, while the floor team are shooting out L3, Golgoroth’s Gaze is again focused but this time held at the centre of the corridor near the bridge. His Eye Blast is mostly ineffective here, and the homing missiles very easy to shoot away. The floor team continues to do its work, with the assistance of the second lure up above who is transitioning now to the right corner of the map, throwing grenades to thin the adds.
The next orb in sequence is R1, front right, which is why the rage is now focused on the Guardian that picks away at this back from on top of the box in the right-hand corner. While he is dodging and shooting, his partner runs to the same area, assisting the ground team from the upper level while he goes. Once again, the countdown begins at 10, and when it reaches five, the Gaze is transferred while the pit crew shoots down R2. At this point Golgoroth is almost dead, but to make sure the free lure heads to a position on the right-hand bridge to aim at the Ogre’s back. As with the opposite side, Golgoroth’s Gaze is held at this central point; positioning him around the pool created by R3.
This should be the end of Golgoroth, but of course things do not always go according to plan. If ever an opportunity is missed to focus his rage, his back closes up and adds appear. The pit crew must immediately vacate their positions and regroup on the upper level to avoid Eye Blasts and help with shooting the scurrying adds. When the room as clear, this takes you back to square one, only with Golgoroth clinging to whatever life he has left. Just stay calm, and then start again from L1.
Head back to our King’s Fall Raid guide.