Dark Souls 2 Walkthrough Part 6: Sinner's Rise
It’s time to explore Sinner’s Rise, find the Fragment of Yore and defeat the boss, the Lost Sinner.

As you enter Sinner’s Rise kill the first two guards who drop down in front of you. Go through the doorway in the corner where you’ll find a ladder leading to a bonfire. To the right is a doorway that holds a Large Soul of the Undead.
Go back to the bonfire and light it, then climb back down and take out the archers giving you grief. Take the lift and jump off before it hit’s the bottom onto a level with five Lacerating Knives, then drop to the bottom floor. You now want to go down the ramp and into the water below.
There’s an enemy on the left. You can either fight him outright or back off into the room with the lift. When he comes at you get in the lift and go back up, and he should fall straight into the water.
Back where the enemy came from you’ll find a Sublime Bone Dust item. Look out for another enemy here - you can trap it into falling in the water again or fight it outright - behind it is a Large Soul of a Nameless Soldier.
There’s a few more enemies in this area and it’s best to try and pick them off before they overwhelm you. Fight the beast on its own, then prepare for another enemy which will fall near you. Kill it and head up the stairs. Don’t worry about the two cells, there’s nothing in them, just keep moving and kill the sleeping enemy. Keep ignoring the cells because there’s another enemy asleep around the other side. Kill him while he’s out cold.
Go back down the stairs and follow the water-logged path. Again, be cautious and try to fight as few enemies as possible. At the cell on the right, trigger the enemy to come at you and fight it, before fighting two more in cells on the left. You can fight one at a time here if you quickly attack the first enemy.
There’s one last enemy in the final cell on the right hand side. Grab the Soul of a Proud Knight and Pharros' Lockstone. Pull the lever at the end. To the left is a Radiant Lifegem. Now head through the mist and prepare for a boss fight.
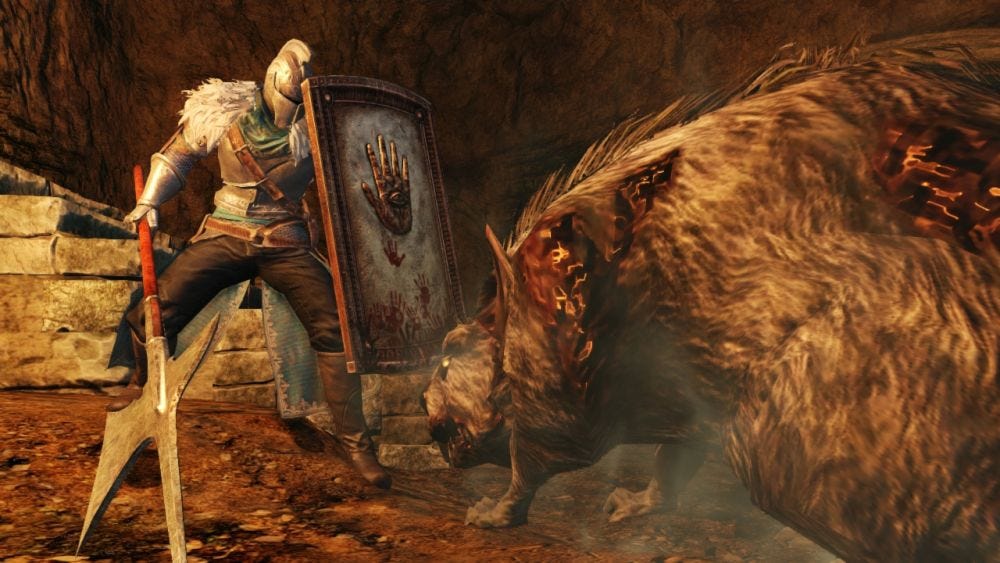
Boss Battle: The Lost Sinner
Reward: Soul of the Lost Sinner
What you really, really, really need for this boss battle is a shield that absorbs 100 percent damage. If you’ve got one equipped this fight is easy. Use the Drangleic Shield, which you can get after your fight with The Pursuer. (Reminder: after beating The Pursuer drop into the large hole below it and you’ll find all the Drangleic items).
The Lost Sinner is whip-quick and it attacks almost constantly so you won’t get many chances to counter it. Block, block, block its attacks and when the opportunity arises you’ll only be able to counter with one or two hits.
Another handy hint is to turn the brightness settings up for this fight as it's very dark.
As The Lost Sinner charges at you block or evade its attack and stay close. It uses two attacks, one after the other. Sometimes this is also followed by a heavy attack that’s easily avoided. He can also stab at you from the front and jump over you to attack from behind (just turn to face him and block again).
The secret is to stay close, blocking with your shield. Always leave a little stamina so you can continue to block and never let The Lost Sinner get too far away from you. Circle him, defend yourself then follow up with one or two hits after his attack sequence. It’s a slow process but if you keep your shield up and remain patient you’ll win.
When the Sinner is dead, go through the double doors and down the stairs. There’s a coffer in the next room with a Fragment Branch of Yore and an Elizabeth Mushroom. The Fragment Branch of Yore is for removing petrification from characters and obstacles. It can be used in multiple locations including the Lost Bastille.
In the next room is a bonfire - spark it up and go back to Majula. Time to level up. Now you have a few options. You can go straight to the Belfry Luna. Or if you’re a mage you can use the Fragment Branch to save the wizard Staid in return for some spells. You can also use the Fragment Branch to clear the path near Majula.
If you’re a mage go back to Sinner’s Rise and down the ladder. Go across the bridge to the Lost Bastille and fight the guard on the far side. There are another two enemies in the room at the end of the bridge that you’ll need to deal with as well.
Now go up the stairs and fight the two enemies. If you want to make it easier you can trick them into coming down to the floor below one at a time. In that room with the enemies you’ll find Staid. Use the Fragment Branch of Yore and speak with him. You can now buy spells off him.
There’s an opportunity here to also travel to the Lost Bastille’s Servant Quarters bonfire and pick up some more items. Go up the stairs, through the door and over the rickety bridge. To the right you’ll find a room - go through it and head to the left until you see a broken wall. Drop down on the roof and use the wooden shack to jump to the rooftop opposite.
To the left of the ladder is a Large Soul of a Nameless Soldier. Take it, then drop down to fight four dogs. Don’t accidently hit the well otherwise you’ll find more enemies arriving. As you step into the room at the end you’ll a guard you have to kill. In the cell in the corner are two Flame Butterflies but you’ll have to fight two guards first. Again, try and coax them out one at a time to make things easier.
Now if you head back to the main room you’ll be able to smash the wooden block which will open up to a courtyard near the entrance to the Lost Bastille. There’s a White Knight up the ladder in the courtyard. Take him out for some souls and a Heide Spear.
Work your way back to the place where you killed the dogs and go through the door there. There are three guards to fight, then you can go up the ladder for your reward - Green Blossom and a Large Soul of a Nameless Soldier.
Back outside you should head down the alley where you’ll find a ladder. Go up the ladder and through the window. Destroy the boxes and you’ll open up a small passage - go through to fight two guards then take the Bone Staff from the chest.
There’s no need to use the Pharros' Lockstone on this entrance as it only takes you back to a previous location and is a waste of an item. You‘ve prety much cleared up around here, so make your way back to the Servant‘s Quarters where the bonfire is. Go down the ladder, kill the dog and use the Lockstone. As the ghostly image appears on the opposite wall, attack it and you’ll open a path to the Belfry Luna.