Resident Evil 7 walkthrough part 7: freedom and flamethrowers


Get out of the house and pick up a whole load of items around the trailer and beyond.

Resident Evil 7 Guide: Walkthrough #7 - Freedom and your new trailer home
With Jack defeated, you have the final dog head key for the front door. You'll now want to backtrack all the way through the processing area basement of the main house, upstairs, right the way back to the main hall. If for some reason you didn't grab the shotgun earlier, you can now - you're close! Or if you're confident and/or a masochist you can skip over the shotgun entirely - your choice.
When you're ready, put any remaining dog heads into the front door. It unlocks. Outside! It's still creepy, but at least it's a bit less oppressive...
Around this area you'll find:
- On the right of the steps in front of the house front door a small pot with a lockpick inside.
- To the left of the steps, a herb in a plant pot.
- Leaving the main house, head down the steps and turn right, and hug the edge of the steps and the walkway on the outside. Hidden up against here and the house wall is a plant pot with an antique coin.
- At the far end of the deck at the front of the house there's a herb and some gunpowder.
- Near a mechanical looking door with very classic Resident Evil red and blue key card slots (useless for now) there's some supplements.
- Right in front of the outside of the trailer there's some chem fluid.
- In a large bowl to the right of the trailer (when facing it) is some gunpowder.
- If you walk up to the front of the house, look for some corrugated metal at the base of the decking. You can rip a hole in this and crawl under the decking: here you'll find a very rare item, a repair kit.
- If you explore a lot, you'll find a shadow puzzle out here - you can't complete this for now, for the record.
Once you've grabbed what you need from outside your next destination is the trailer. This room is safe. In here there is something new: bird cages with three different upgrades inside - a new weapon, a health bonus, and a dexterity bonus that ups your reload speed and so on. This is where you spend your antique coins, and there's a free antique coin to grab in front of the magnum cage.
On the bed in here you'll find a broken handgun. This is a little better than your standard handgun, and if you want you can use the repair kit we just grabbed outside to fix it. If not, grab it anyway and stash it in the box.
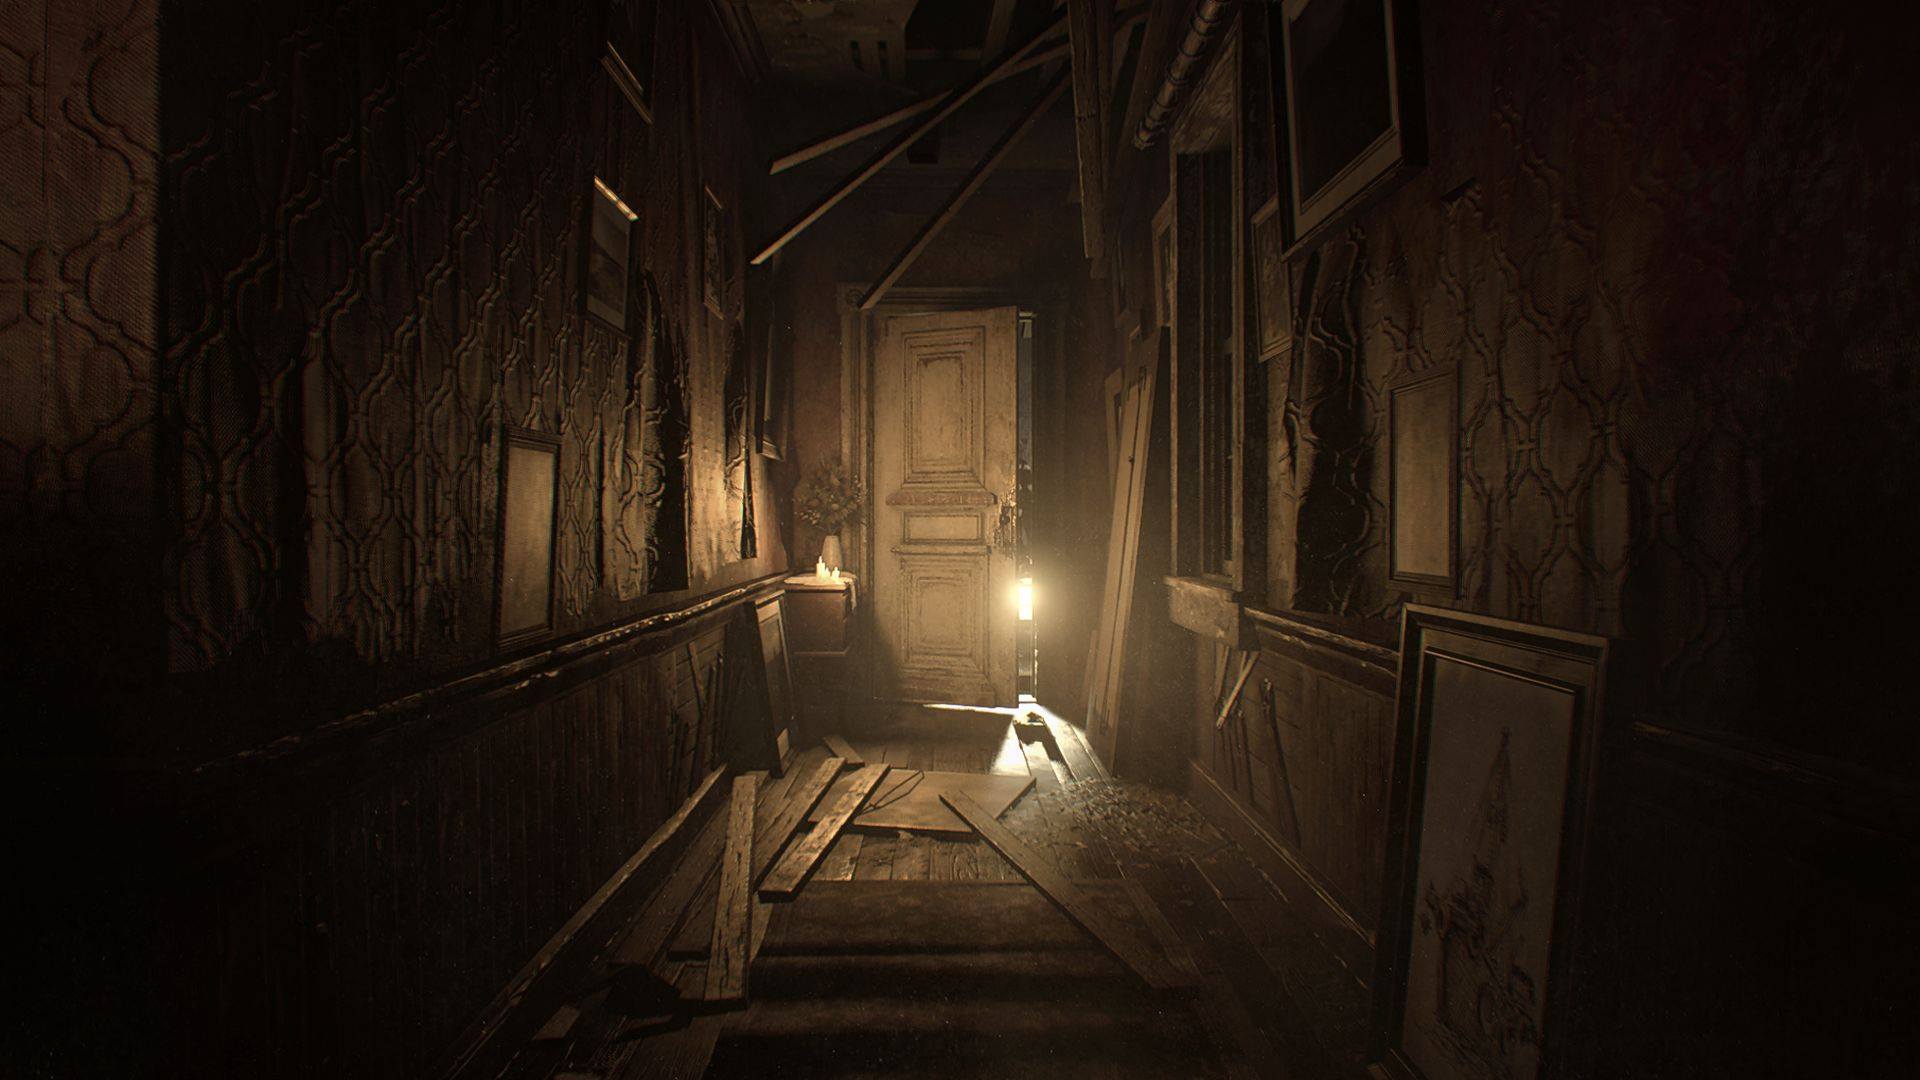
The bug-infested old house and how to get the flamethrower
After the phone call in there and so on, you'll emerge from the trailer with a new objective. From coming out of the trailer door the old house is to the left up a slight incline. Eventually you'll reach a wooden bridge decorated with creepy dolls, and if you did the 'Mia' tape earlier on you'll recognize this location from there. This is why you should do the tapes, incidentally: each one will give you a glimpse at a future area of the game and offer some hints on how to survive it. Remember that.
Once across the bridge, look to the right for some boxes you can smash with your knife to get some ammo. Then head inside. Once inside, take a left, then a right, then right again through a room known as the guest room. You'll know you're taking the right path because there's creepy notes scrawled into the wall. There are bugs that swarm and attack you in here, but just run from them. If any big ones follow you, use the knife to kill them. This might seem tedious, but there's no point wasting good ammo on one-shot enemies like this.
Exiting the first room where you encounter bugs, you'll end up in a short T-shaped hallway. Head left here, at the tip of the T - this leads towards the gallery room. Rigth before the gallery room there's a side table on the left - underneath it, if you crouch, is a tin of burner fuel. Remember Mia's shadow puzzle room? This is that area.
There's nothing to do in this room right now, but out on the balcony you'll find some handgun ammo inside a bin on the right and some chem fluid next to that. In a bin on the left you'll find the BURNER GRIP - a new weapon! Of sorts, anyway. Grab it.
Straight on from the burner grip and over a little bridge is another save room. Safety again! In here there's a save point and your storage box as usual, but on top of that there's a backpack. Pick this up - this is a permanent upgrade to your inventory space - ideal because with the burner, your pistol, knife and shotgun, that's already 6 inventory slots taken up.
Once you're all prepped, head back out the way you came and back through the projector puzzle room. Head straight down the hallway (so straight past the right-hand turn at the T-shaped junction) and through the door - deal with bugs if they bother you by slashing indiscriminately with your knife.
In this room:
- There's some solid fuel in a cabinet
- Some shotgun shells in a box atop a table
- A locked drawer you can open with a pick (first aid kit)
- A cabinet covered in spiders. You can remove these spiders by slashing with your knife over and over, but you will take damage. Doing so with a knife is worth a trophy, however. If you wait a minute or two, there's an easier way coming...
Once you've cleared up what you need, head through the room and out through the door in the left hand corner (based on the direction you entered from).
- Outside and to the left there's some gunpowder on a windowsill.
- To the right and around the corner in a dead end there are some psychostimulants and a lockpick inside a box you can examine.
Head out onto the piers and take the right-hand path. In the building at the end you'll find a herb and the BURNER NOZZLE, which is the second half of your new weapon. Combine the burner grip and nozzle in the menu (select one, hover over the other, click) in order to make the burner, a new weapon. This is basically a flamethrower, and is ideal for taking down the bugs and their nests. Yes!
We're properly kitted out for the area, and it's time to move on to part 8. Our journey into the old house is only just beginning...