Mass Effect Andromeda guide - The Tempest and the strange signal on Eos

Get a ship, get a car, track a signal - not a bad start to Mass Effect Andromeda.
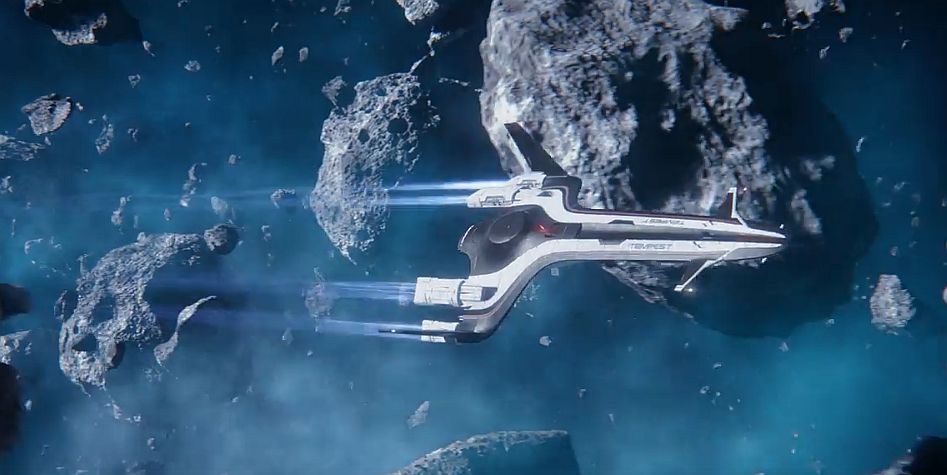
Getting to know your new ship - The Tempest
Now that you're familiar with you main hub, The Nexus, it's time to get to know your ship, which is the other place you'll spend a lot of time shopping, chatting and progressing quests.
Kick things off by giving your crew a bit of a speech (not exactly Shepard level, is it?) and then get to exploring. There are three levels of the Tempest to explore and you'll want to track down all your squadmates as well as the non-combat crew, as they all have questlines to progress as your friendship deepens.
Of particular note at this stage is Vetra, a Turian you can usually find down in the cargo bay. Vetra has powerful armor that allows her to tank enemies effectively and basically fills the same sort of soldier with tech expertise skill set that defined much-loved Turian Garrus back in the Mass Effect trilogy. Those two probably would've got along like a house on fire. She and Ryder will also get along pretty well, if you're patient.
Before you fly: Explore the Tempest and your crew
You've obviously met Liam and Cora before in the course of your Nexus and Habitat 7 exploring, but there's more to the Tempest than that. One thing you should do as soon as you get it is explore - go and chat to all of the crew. There's Gil, the engineer, science officer Suvi, Salarian pilot Kallo and Asari doctor Lexi. Get to know them - several of them are romance plot interests for Ryder - but they also have their own sidequests you'll unlock as you build relationships with them over the course of the game.
You're going to be here a lot, so learn the layout now. Throughout the ship you'll find some key places. Most important are the following:
- Email Terminals: There's one of these on the bridge and one in your quarters. Some quests or quest consequences will be delivered via email, so check often. You can archive read emails.
- Repsec station: If you want to respec your character, the means to do so is found down in the medbay. Spend credits to reset your skill points and spend over again. Note that the cost goes up each time.
- Shop Terminal: Marked as 'Buy/Sell', this lets you access a basic shop right from the Tempest. The stock won't be the same as the shops on the ground in hubs, so be sure to still shop around when on the ground.
- Research & Development: This terminal lets you spend research points (which are obtained by scanning, so keep scanning) for new weapon, armor and augment blueprints - then develop those blueprints into gear you can use. Don't go wild here; research points are a limited resource, and you will not find enough to unlock everything.
- Strike Missions: A terminal related to missions carried out by AI on your orders - and multiplayer missions.
- AVP Status Control: This will unlock later, and is part of story progression and completion-related perks.
Note that your squadmates and other crew members can be found in different locations, so if you can't find a favourite pal, keep searching. They're around somewhere.
If you want you can also take your ship to other systems and planets other than your objective, Eos. You won't be able to land anywhere, but by scanning planets you'll discover resources you can use for crafting and world-explaining flavour text. This also helps fill out your game completion statistics and begin chipping away at a side quest. Unlike most side content, which you should leave till endgame, scanning planets is definitely best done in small doses as new systems unlock rather than all at once as one long boring chore.
When you're done exploring, take yourself to Eos to continue your critical path adventure.

A Better Beginning: Arriving at Site 1 on Eos
After some more cutscenes and story you'll find yourself in control in the middle of 'site 1' in Eos. Things didn't go too well at Site 1 - that much is clear. Follow the navpoint to find a locked building, then follow the navpoint again to obtain the access code to unlock the door.
Along the way you may find human bodies - if you scan one, you'll kick off a sidequest - Task: Naming the Dead. Don't pursue this now; most Eos quests are better left for after you clear this annoying radiation hazard. If you insist, we have a Naming the Dead visual guide.
The story steps here are pretty simple. Enter the locked building and head through reading logs on computers and generally investigating the situation. Soon enough you'll need to head to the power relay indicated on your map in order to restore power to Site 1. When you reach there you'll learn one human yet lives - and by turning the power on you'll attract the attention of the Kett, the alien race you met back on Habitat 7. Activate the power anyway by telling the survivor you'll take care of the kett.
Activate the two power generators. You'll need to scan one and then hack it in order to get it working. Once both are active, the Kett will arrive. Take them down with the same skills you practised back on Habitat 7. If you haven't yet spent your skill points, now's the time to get to it.
Meet the Nomad
Before you can really proceed you're going to need a vehicle. In the north-east of site 1 you'll find a big cargo container. Scan it to find there's a Nomad vehicle inside. This state-of-the-art bad boy is your transport. You need a code to unlock it - these colonists sure love their password security.
To get the code head to the waypoint indicated to lower a forward station. This is really a tutorial in disguise: forward stations are dropped into the world and act as places you can replenish health and consumables, plus they act as fast travel points. Note what they look like and their symbol on the map - if you see a holographic outline of one of these or a white icon of one on the map you should head there to deploy that station so it can be used as a fast travel point.
The forward station gives you the code you need. Now go get the Nomad. The nomad gives you freedom! Time to use it.
Dealing with Eos Radiation
So here's the thing: you now have the Nomad as a means of exploration and a bunch of icons on your map, but it's not advisable to get out of the Nomad between destinations right now - Eos is soaked in radiation, and you don't want to eat that up.
Our strong advice is to simply keep moving through the main quest objectives as we describe below. Without getting too deep into the world of spoilers, the main quest will help make exploring Eos more viable without being killed by the radiation, especially in the areas of the planet that can kill you in a matter of moments. Keep playing the story - you can return to Eos and clean up these icons later.

Investigate the Strange Signal
There's a signal on Eos that's of interest - and now it's time to go find it. From the forward station, hop into the Nomad and head east. Remember that the Nomad has two-wheel and six-wheel drive - you'll want to swap to six-wheel drive to climb steep slopes then switch back to two-wheel drive when you want to get your speed up.
You can't really miss your objective - it's a big, black alien monolith that dominates the skyline near Site 1. It also has a lovely shiny waypoint.
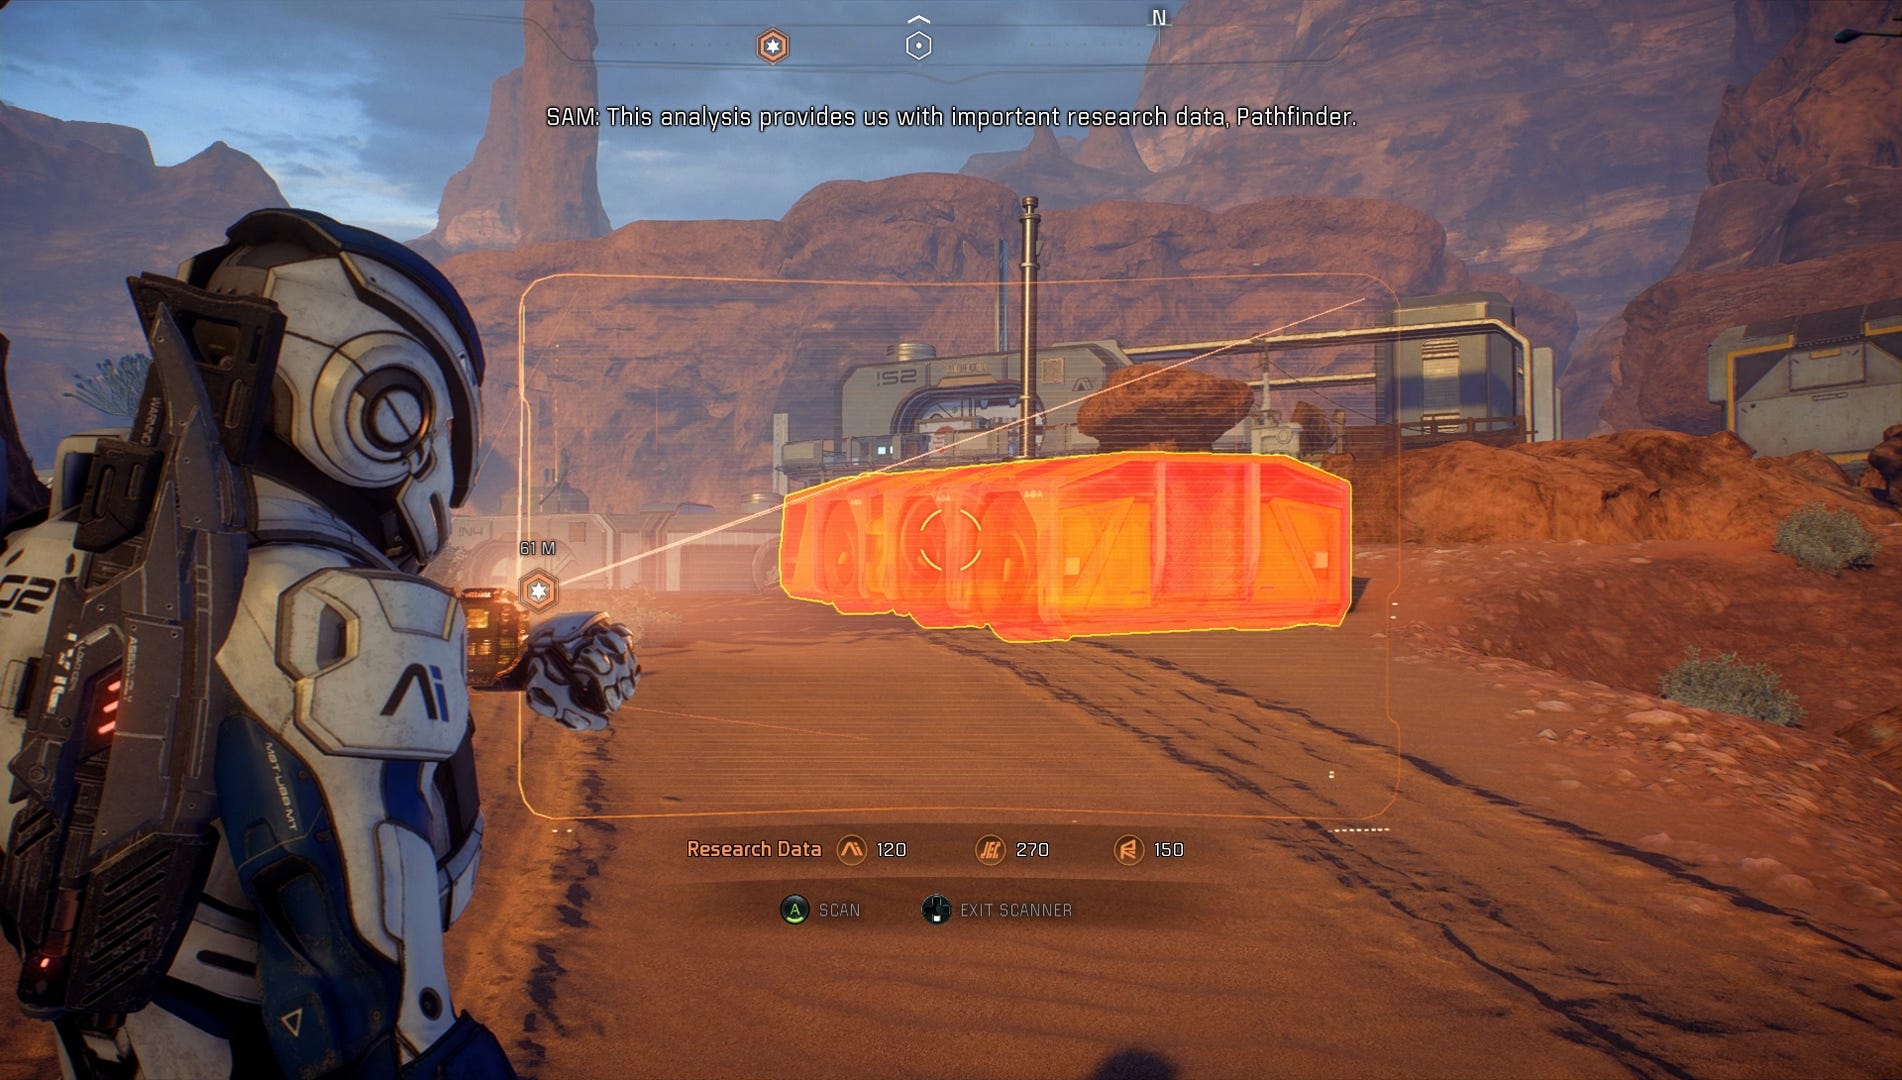
When you get there, hop out. Shields put up around the monolith mean it's safe for you to exit the Nomad without it draining your life support here. Use your scanner liberally to pick up lots of research points. Interact with the alien console and then head - as Liam suggests - up the scaffolding to get high on the monolith. Up there you'll find a strange symbol. Scan it. You might also notice in scanner view that a cable is going from this glyph down to the alien console. Get used to this: you're going to track glyphs through these cables often in the coming hours.
Once the glyph has been scanned, drop down and use the alien interface. A cutscene ensues, and you meet a new ally.
After this you'll face some combat against some new robotic enemies. If you have access to any tech skills, remember that they're more useful against enemies of the synthetic variety. When these foes are killed it's well worth you taking the time to scan them - while you can only scan each type of enemy once, the first time you encounter and scan them nets you quite a lot of research data. We can't emphasise enough how important it is to grab as many research points as you can if you have any interest in crafting.
We now have a new objective - to activate more of these strange monoliths to see what they do.