Dark Souls 3: The Ringed City walkthrough - Mausoleum Lookout to Ringed Inner Wall

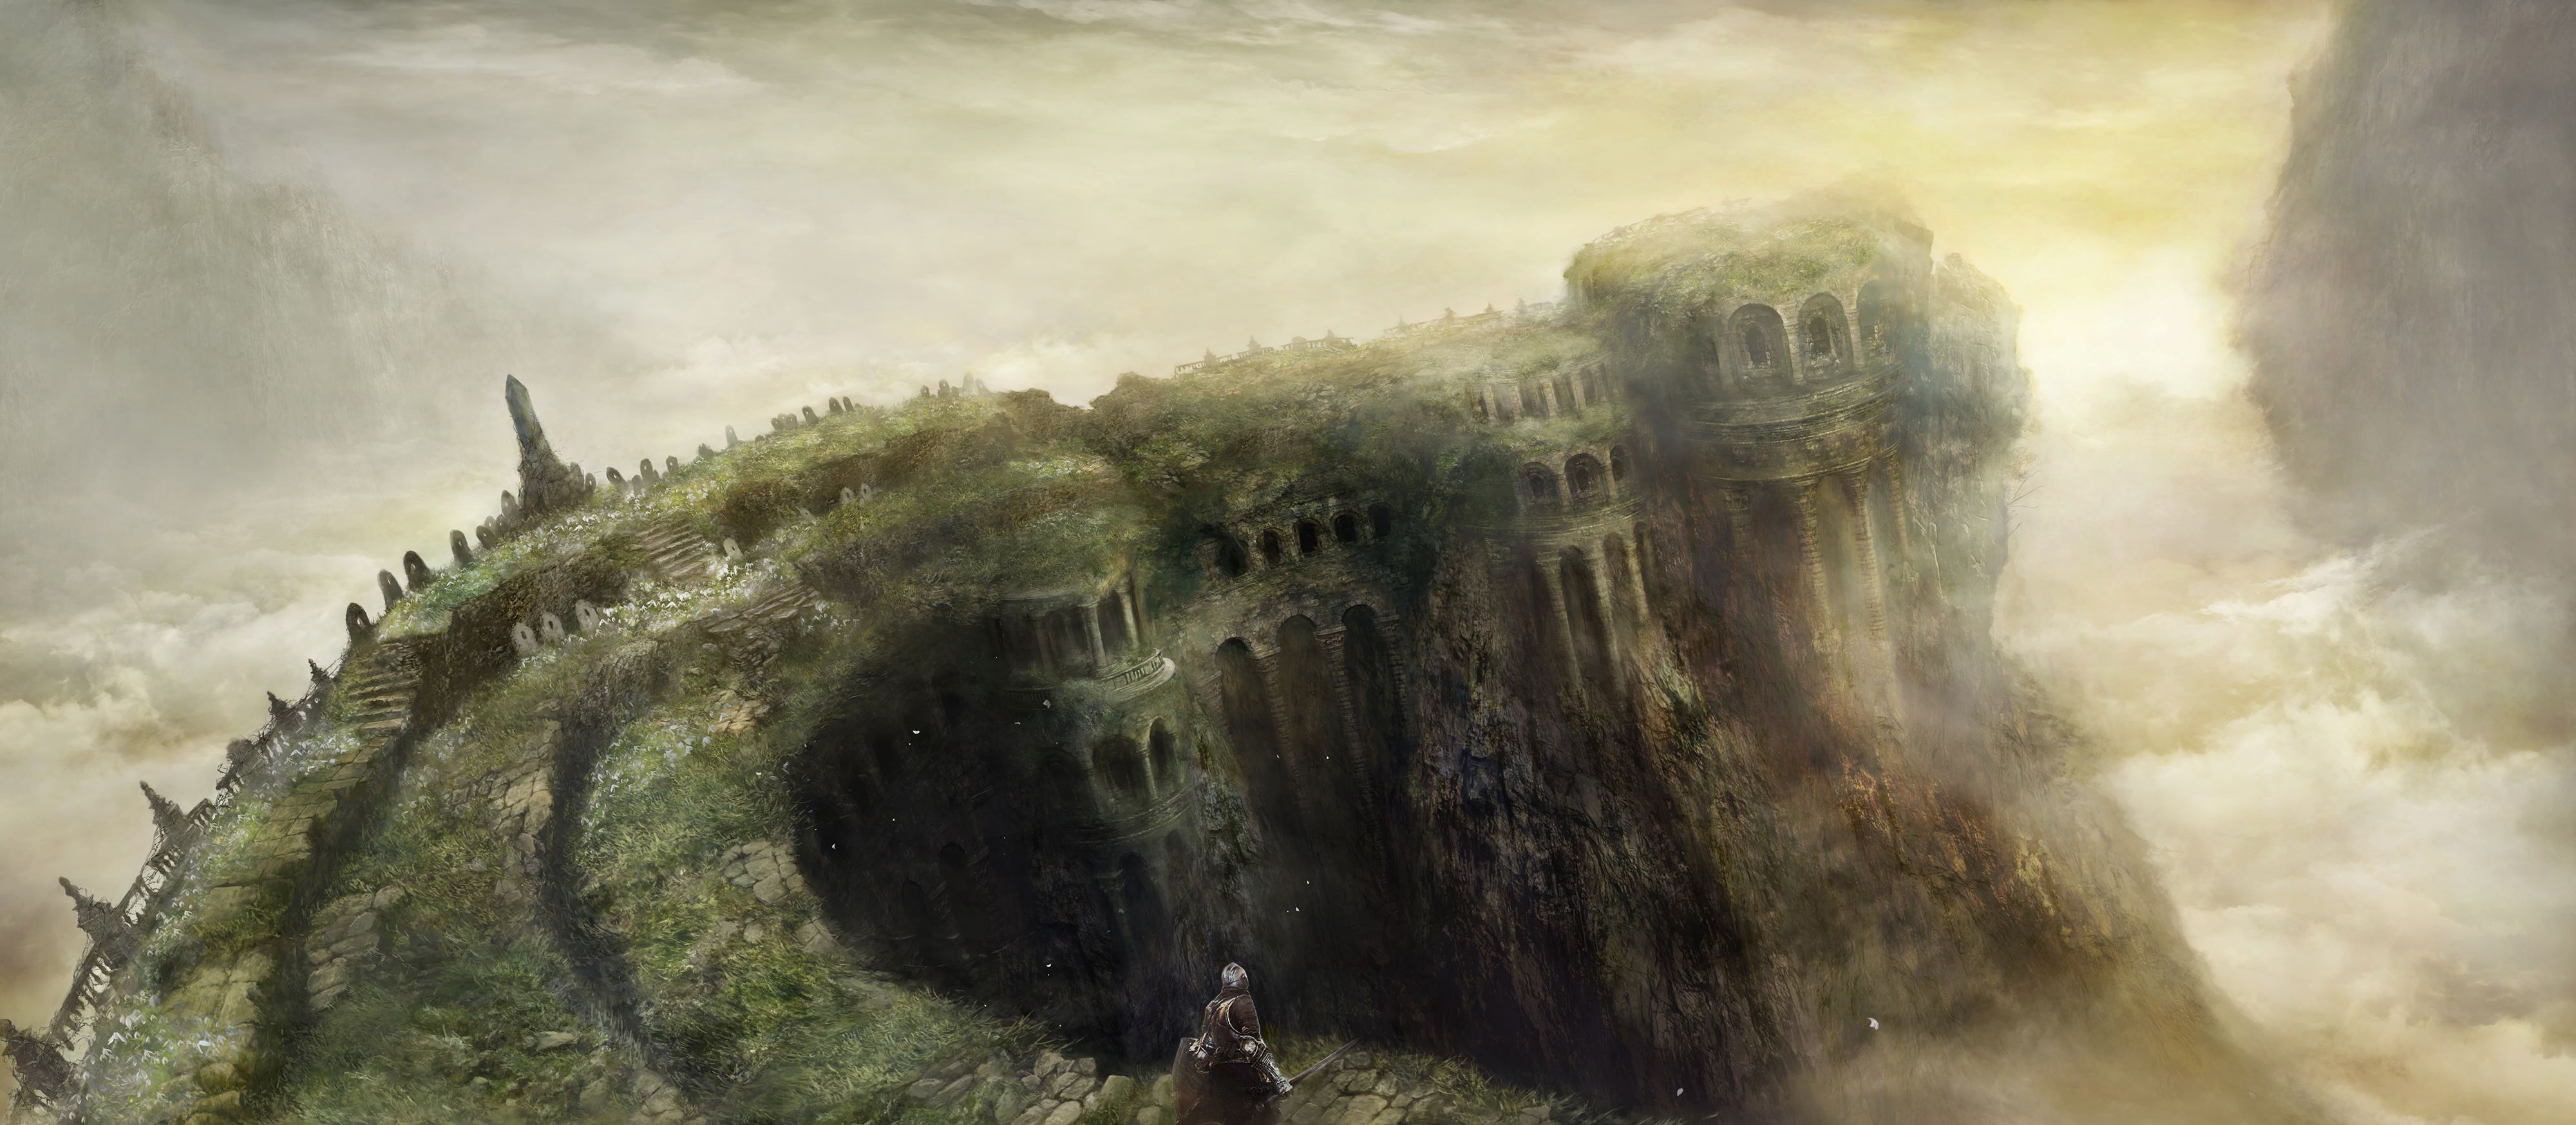
The Ringed City proper begins here, with the Mausoleum Lookout bonfire. Let's deal with the Grey Giant and get inside the titular ring.

In this chapter of our Dark Souls 3: The Ringed City walkthrough, we press into The Ringed City itself - up until now we've just been wandering through the Dreg Heap at the edges of the world, which is all that's left at the closing of the age of fire.
Now we're really going to see something, and the lore starts to get super interesting. If you've just tuned in and are wondering how we got to Mausoleum Lookout, we came via The Demon Prince boss battle , which was backdated to avoid spoiling the boss name in a headline.
Also, don't worry about that area back at the Earthen Peak Ruins; we'll be back there sometime later once we've puzzled out some of its mysteries. This is the right path, we promise.
If you're still in ember form, be sure you've spent any spare souls; invaders have been spotted in this area.
Cross the wall of The Ringed City
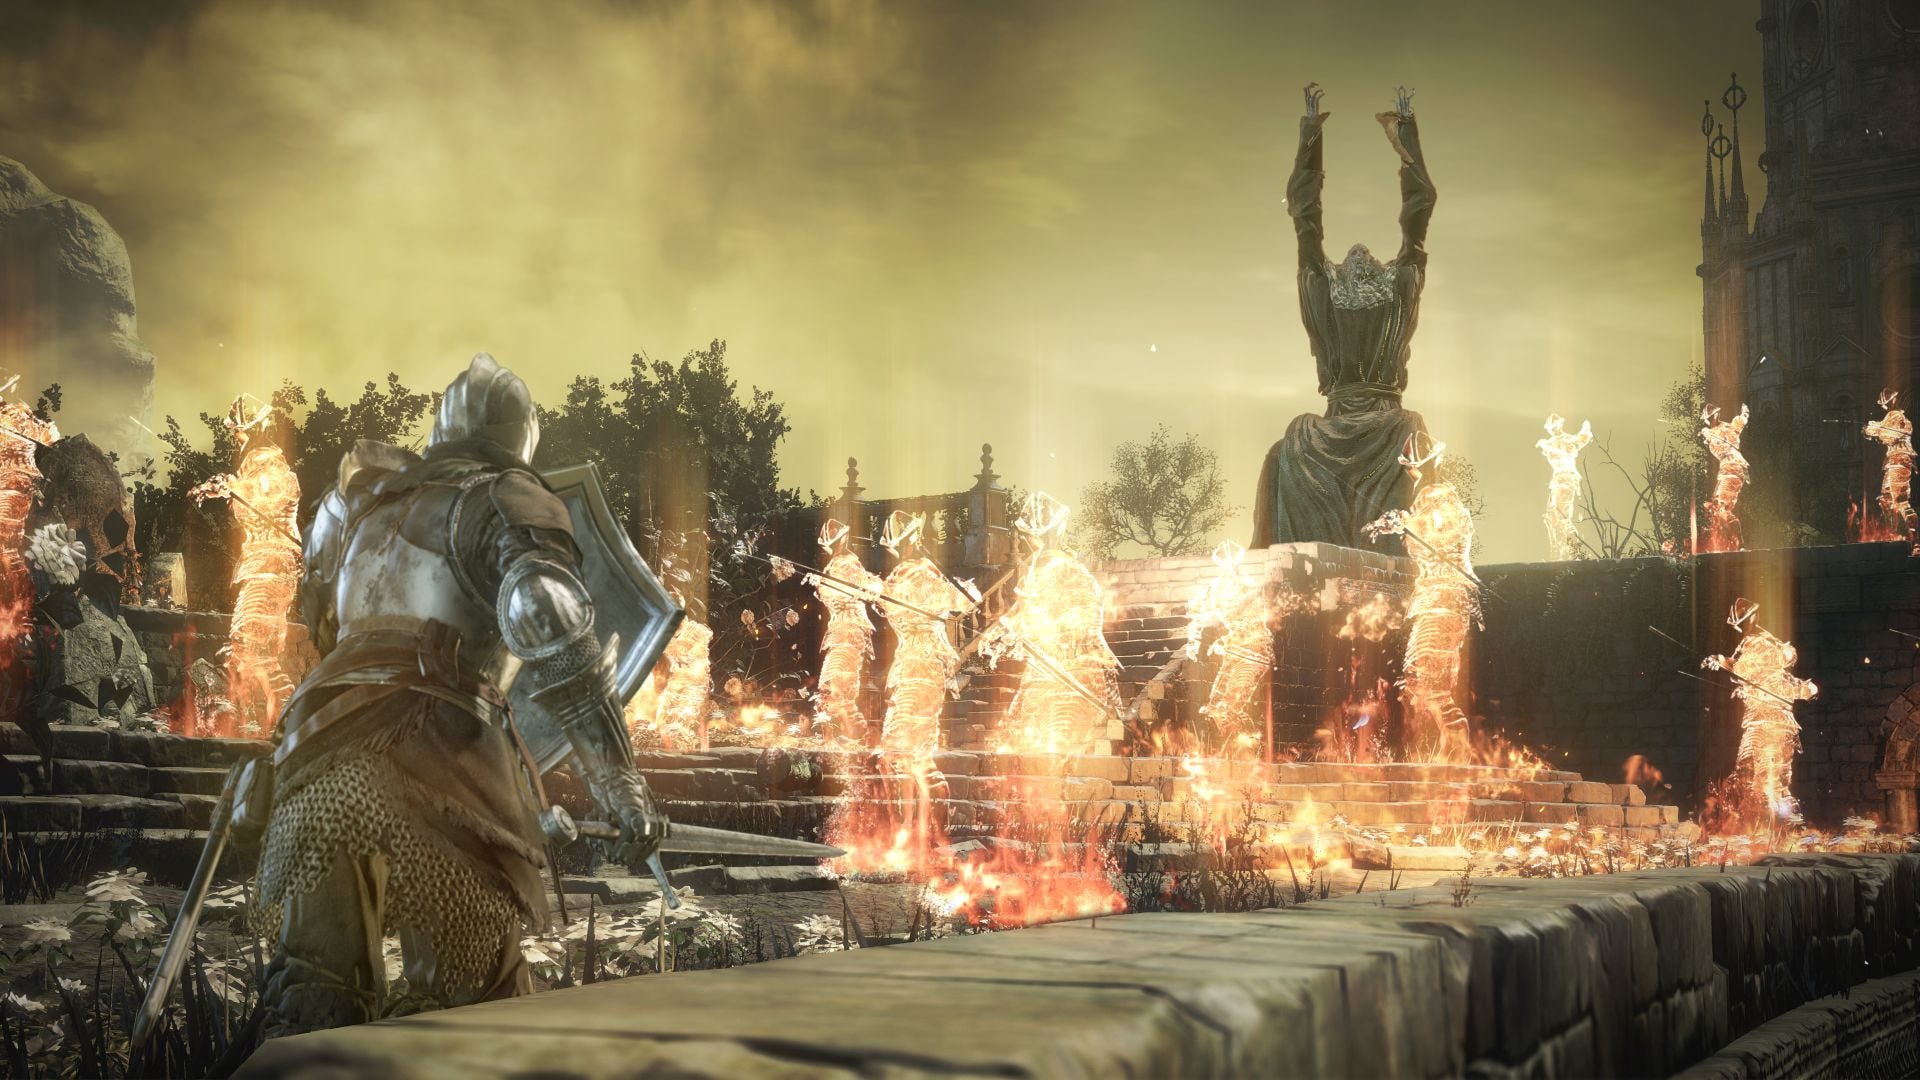
So: Mausoleum Lookout. It’s lovely here, isn’t it? But don’t get distracted by the view. As you move towards and down the stairs, a grey giant at the far end of this curving wall signals, and a horde of phantom archers appears, salutes, and fires several volleys at you. If you’re not in cover, you’re bollocksed.
You should trigger this and retreat, at least once, to watch it happen and understand the rhythm of it (and also to wonder why the phantoms look like Warriors of Sunlight). Be sure to put stone between you and the archers while you watch.
When you're ready to press on, wait for a break in the phantom archers, then run down and take shelter behind the first set of gravestones on the right.
Optionally, turn around to face behind you, wait for a break in the phantom archers, and run back towards the stairs, but pass to their left, hugging them to find a small shelter here. Wait out the storm here, then make a break to run even further back, around the curved stone wall, for the Ruin set. Return to the first set of gravestones.
Here’s what we’re going to do: we’re going to wait for a gap in the fire then run around the first gravestone to the left, and then around the second gravestones to the right, and shelter behind the third set of gravestones tucked just beyond the second – you can’t be hit from any direction here, as long as you're well inside the little alcove.
Take a look around while you can. Ahead of you, on the right, is a flat, round area, and you should spot some crumbling stones on the lip at the far side of it. In the next gap in the archer's fire, run for that spot and drop down, then drop down one more level. Safe!
A ruin knight golem or even two may rise and follow you down; they’re pretty easy to fight though, as they only take three or four hits to kill and have petty standard moves apart from a rapid somersault towards you. Whenever you’re safe, do grab the Soul of a Crestfallen Knight that’s back in the bonfire direction.
Move on down the path. There’s a crystal lizard and it’s pretty safe to chase it; just don’t fall off the ledge.
Climb the ladder and sprint up the stairs on your right. At the top, take an immediate right and get around the corner to cover from the archers. But don’t imagine you are safe! In this area, the phantoms summoned by the grey giant include melee units who appear under your feet, swinging great clubs. They vanish with the rest, so all you need to do is get out of their range. Additionally, the giant has both fire and melee attacks itself if you approach it. You need to go right down the rear stairs and around the corner, where you can talk to the friendly NPC in the alcove, before you’re safe.

Killing the Grey Giant
This section is optional, but you can grab the treasure scattered across the wall if you’re willing to kill the giant. It does respawn so have a look at what’s listed below and see if you think it’s worth the hassle.
There are several ways to kill the giant and all rely on finding a gap in its summon patterns in which you can damage it without being destroyed - or having the giant itself attack you directly.
What I did was stand on the stairs behind the giant, about halfway up, until a melee phantom began to rise at my feet. Then I ran up the stairs, took a shot at the giant, and ran back down, avoiding both the original melee phantom and a potential second one conjured at the top of the stairs while I was taking my shot.
The giant drops a Divine Blessing. After it is dead, watch out for two ruin knight golems who are usually wandering around up here; they actually rise when you first climb the ladder, so you might have dealt with them already, or noticed them fall down the ladder earlier, if you didn't get up that ladder and away quick smart.
As you move away from the giant’s throne and back along the wall, look for a lower area to your left with two item glows. You can collect some budding green blossom and a Large Soul of a Weary Warrior here. There’s also a small tunnel entrance; there’s a Hidden Blessing inside (and no nasty traps, surprisingly).
As you progress back towards the confire, you’ll also encounter an ember two titanite chunks and more budding green blossom. Remember not to rest at the bonfire or all this will happen again.
Moving on to the next bonfire
Past the giant’s throne, continue on beyond the friendly NPC in the alcove, but watch for an ambush from the next one. Let’s call these guys wretches until I find out what they are.
Moving on you’ll see another wretch sitting staring over the landscape. It’s a trap; a third wretch is waiting above on your left.
Advance until the ramp ends and be wary of another wretch who will climb up from your right if you go past; flail at where you can see his hands poking up to get him to come up early. He won’t fall off, unfortunately.
Yet another wretch is waiting to drop down on you from above and left as you approach the item, so shoot it down before proceeding – and yes, there’s one last wretch who climbs up from behind the item itself. It’s a purging stone.
Go back a little and through the door to activate the Ringed Inner Wall bonfire. That wasn’t so bad, hey? Let's see what tomorrow brings.