Battlefield 1 Support Class guide - weapons, load-outs, ammo crates, repair tool tips and more
Walk softly and carry a big gun. And ammo crates.
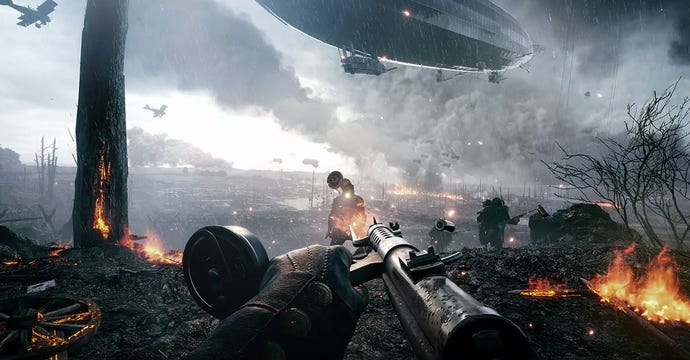
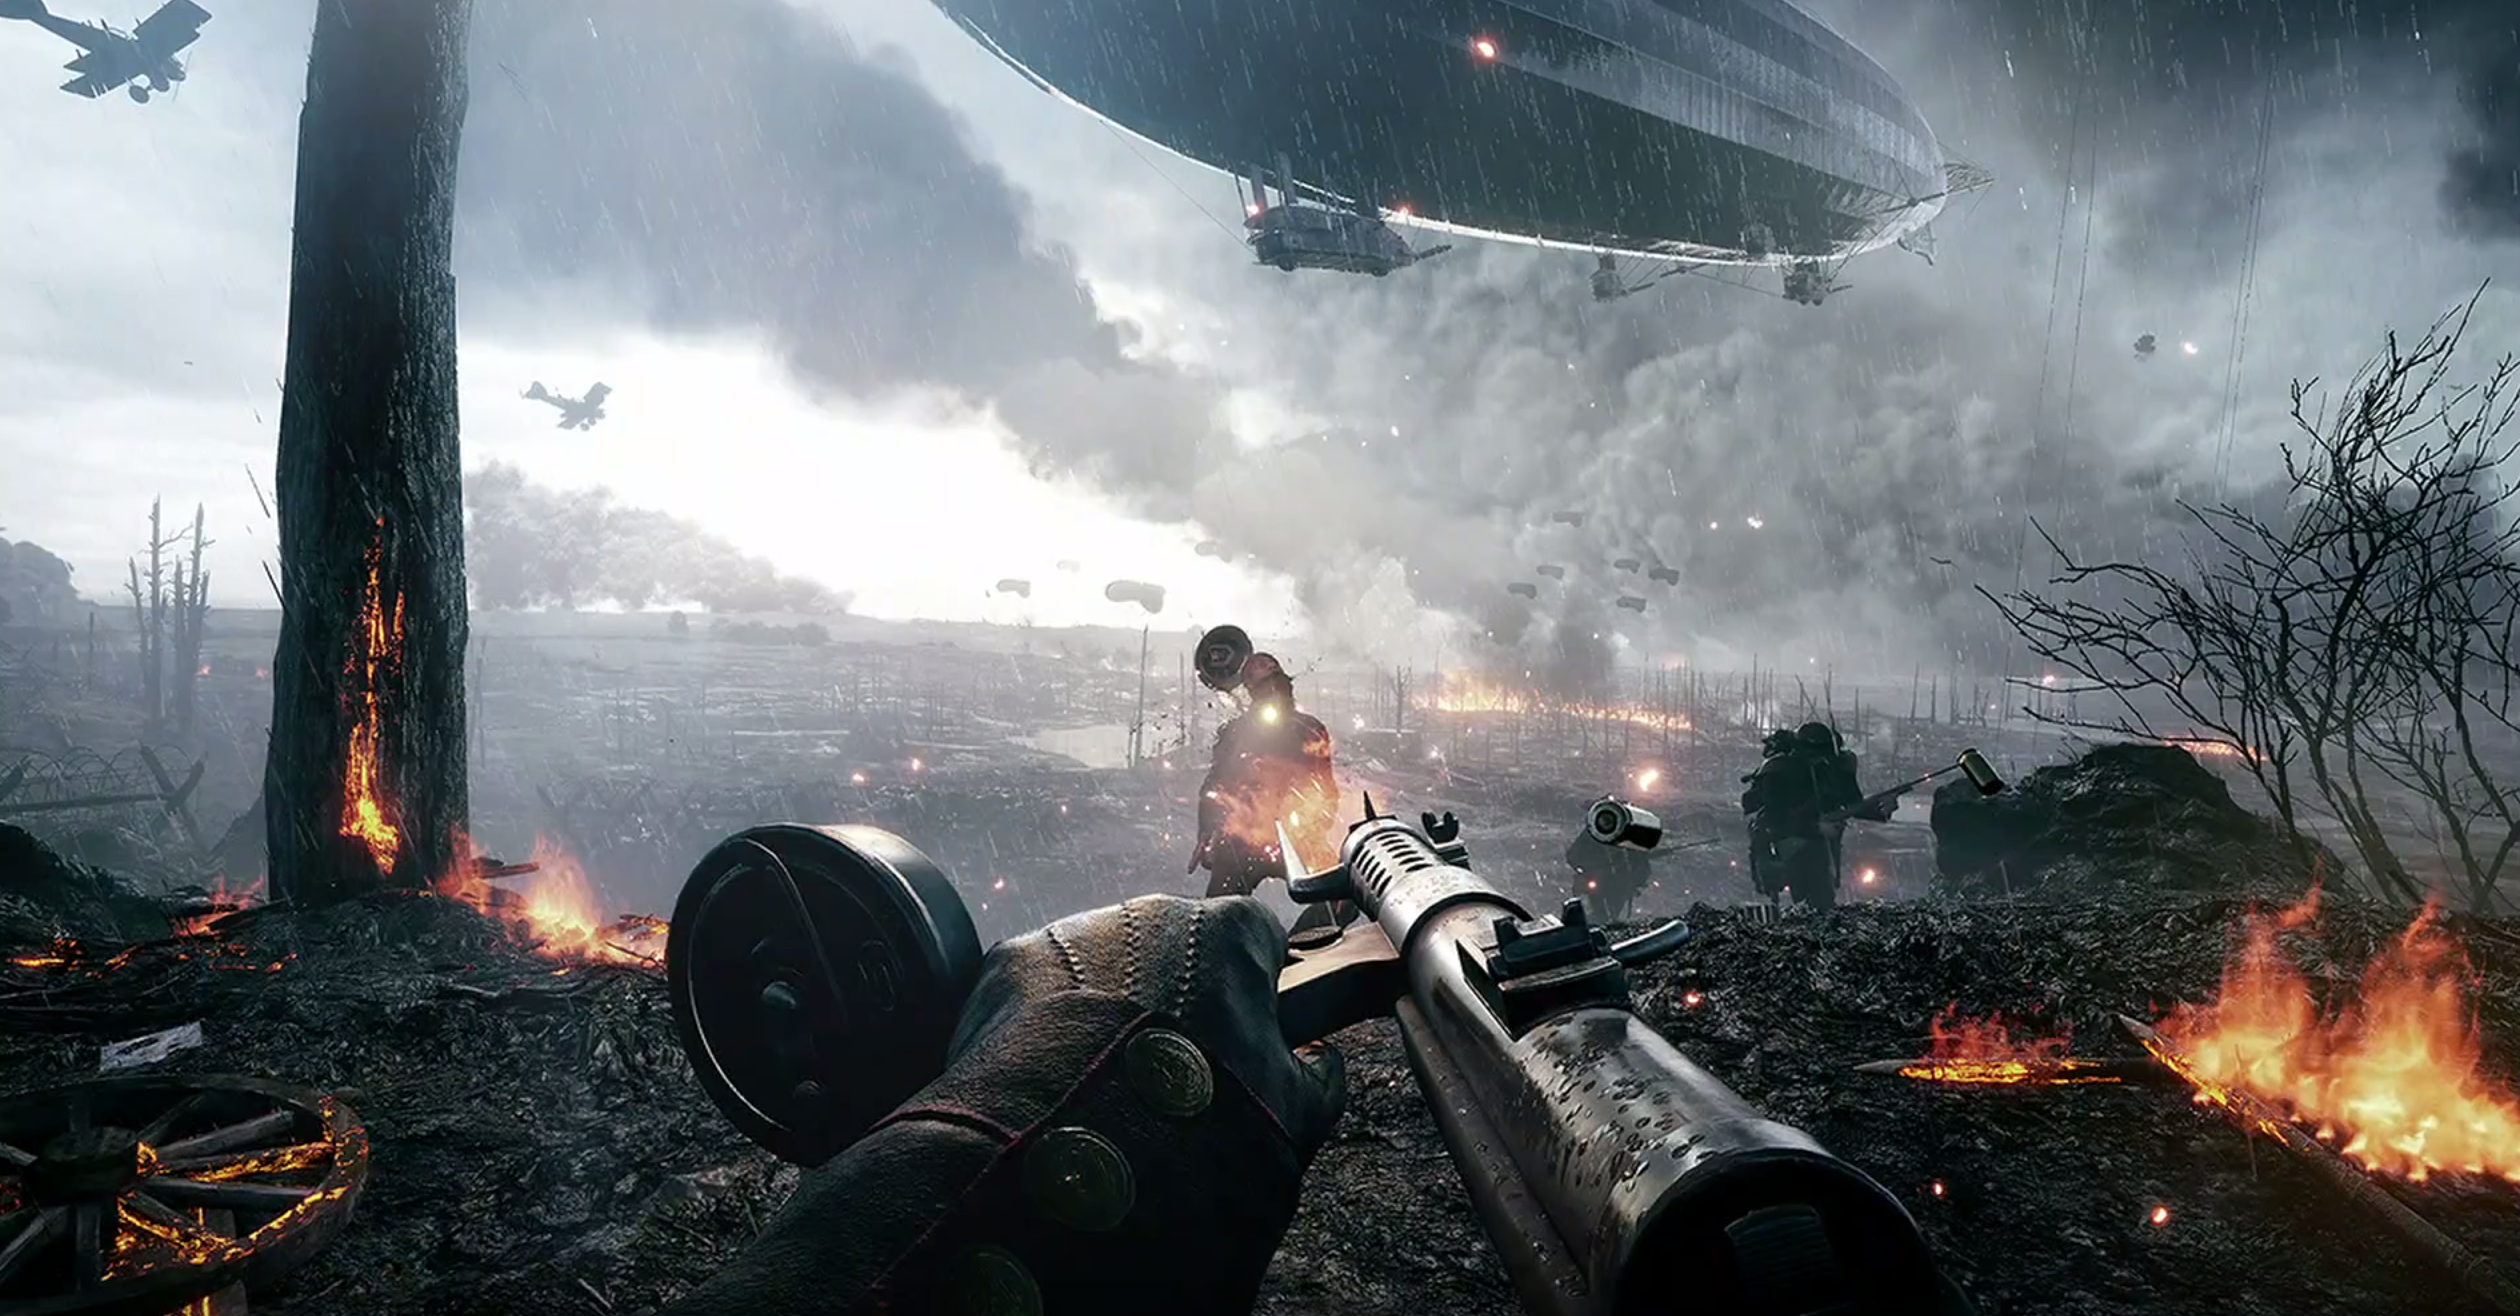
Thanks to its World War 1 setting, Battlefield 1 has a serious chance to change some things up in its multiplayer, and developers DICE seem to have seized the opportunity. While the broad strokes of the classes in Battlefield 1 might seem familiar to most shooters, there's a fair bit that's different about them.
Before you jump into the trenches, allow us to assist by guiding you through what, exactly, you can expect from each of the game's core classes. Some are similar, and some are less familiar. Here's everything you need to know about the Support class.
Remember that for even more help with Battlefield 1 you can hit up our definitive guide hub page, which has just about everything you need to know in one place.
Battlefield 1 Classes: Support Guide
I consider the importance of teamwork a major plus to the Battlefield series in general compared to some of its rivals, and so Support should be a major part of any successful multiplayer squad. Assault players should generally find themselves accompanied by a support player who can help restock their deadly arsenal and keep them healthy - but Support can also dish out some pain themselves.
Support Class Weapons
The support class doesn't get access to sub-machine guns but they do get access to some light machine guns. These guns aren't as good for nailing down kills in a quick manner since they don't hit as hard, but they generally have very large clips which makes them great for laying down a slew of suppressive fire to support the movements of your team-mates. You can rack up a lot of points through kill assists and suppression with these too. In lieu of more options, many of the LMGs come in different variations which impact their performance and utility slightly, so choose which type of gun you pick carefully.
In terms of side-arms, the support class gets access to a very similar range of weapons to almost all the other classes in the form of a selection of pistols. All of these weapons do fairly average damage and work decently at a fairly average range, and for support in some situations might be more useful than your LMG if you find yourself alone and isolated.
Support Class Gadgets & Gear
One of the major differentiators for any class in Battlefield 1 is in its secondary gadgets and gear. The support class doesn't have equipment that's quite as glamorous as some other classes, but their gear is arguably most important in a team match. They have access to ammo crates, ammo packs, and an impressive range of tripwire bombs to trip enemies up quite literally. Here's a little about them:
Ammo Crates can be the difference between a win and a loss. If your team is playing well they're not dying, thus not respawning, and thus running out of ammo. Throw down an ammo crate and anyone on your team can stock up on ammo for their weapons and grenades in a flash. When you're putting this down, you'll want to do so in a place that provides cover - don't put it anywhere that'll leave your allies vulnerable while resupplying.
Ammo packs aren't quite as impressive as ammo crates, but they are functionally similar, replenishing ammo for team-mates when you toss them down. These packs don't last as long, though, and are harder for team-mates to see. The Cavalry class (selected when you spawn on a horse) also has access to this gadget as standard.
The Mortar is a deployable weapon that can be used to fire high explosive shells that'll deliver devastating damage to an area. It comes in two variants. The High Explosive variant delivers a blast directly to a tightly targeted area and will blast infantry to pieces and seriously damage vehicles. The Air variant sees the shell explode in mid-air, spreading its ordinance over a wider area. This'll still tear infantry up but isn't nearly as effective against vehicles.
Support's Limpet Charge is a useful little explosive. It's magnetic and can be attached to vehicles - so just attach it, and when its timed fuse runs down it'll blow and take said vehicle down.
The Repair Tool is used to repair friendly vehicles. If deployed on an enemy vehicle it will sabotage it, doing damage in the process. Using this on friendly vehicles will repair them much faster than using the self-repair when sitting inside the vehicle, so keep that in mind.
