Dark Souls 3: Dancer of the Boreal Valley to Dragon Barracks
The ture Dark Souls starts here. Did we say that already? Well.

Dark Souls 3: Dark Souls 3: Dancer of the Boreal Valley to Dragon Barracks
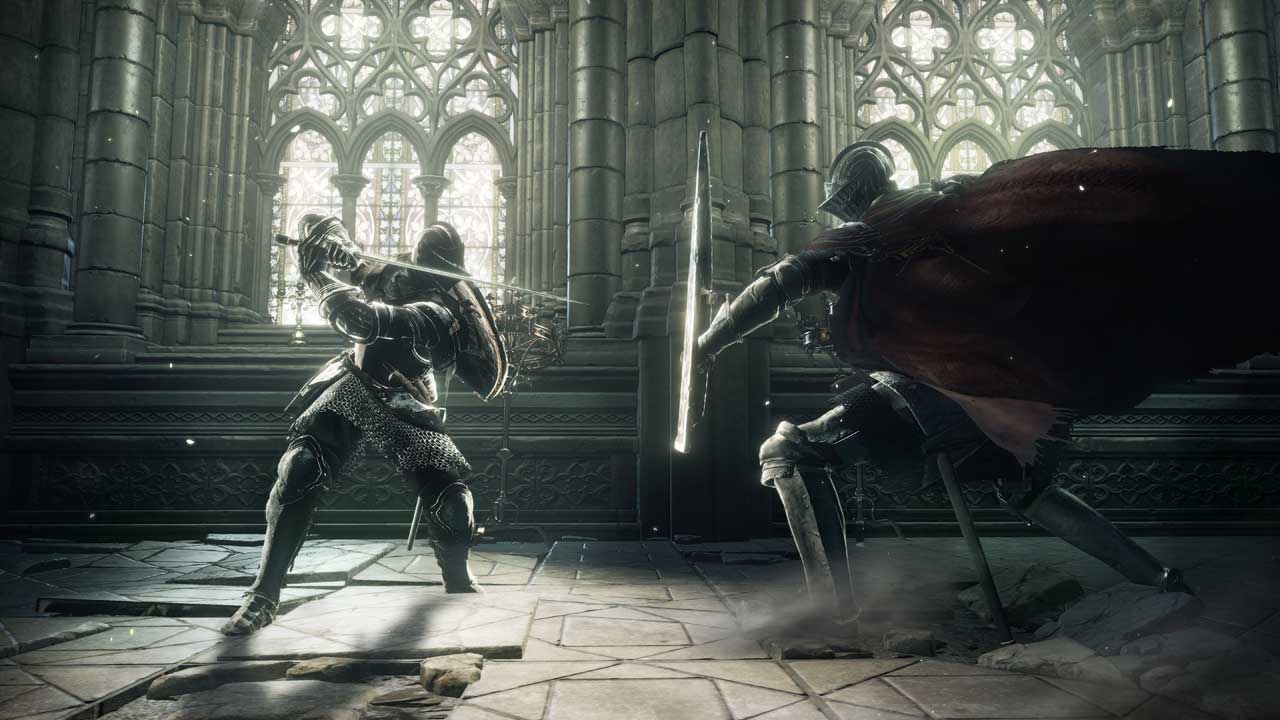
Prepare for another difficulty spike, chums. From the Dancer of the Boreal Valley bonfire, climb the ladder to access Lothric Castle proper, at last. The path to the left leads off to an optional area, which we suggest you tackle later. For now, move forward.
In this room you’ll see a patrolling priest and a kneeling red-eyed knight. The knight is a fairly standard duel, but very powerful; he’s not too hard to cheese though. The priest is easy as pie; he’s just a grunt in a robe. The only complication is: if the priest aggros as or before you’re fighting the knight, he will cast a healing spell that will continually refill the knight’s health. The good news is the knight is very, very reluctant to pass the chapel door; this applies to the next two, too. Use this to your advantage.
The item at the end of the chapel is a Soul of a Crestfallen Knight. Head to the right; the lift to the left needs to be unlocked before use. Pause just over the threshold and a knight will patrol towards you. Lure him down immediately, because if you press any further into the room, he’ll be joined by another knight. This second guy has a very long patrol and tunnel vision, thankfully. There’s a priest up and to your right, tucked back against the door, so try to get the knights down to you without being spotted, or snipe the priest while they're patrolling away
As you proceed along the corridor watch for a priest pretending to be dead on your right. Continue on to light the Lothric Castle bonfire. Let's get another one out of the way, shall we?
The path to a drop leads back to the Dancer of the Boreal bonfire, so ignore it and take the forward path. The chest here is safe, and contains the Prayer set. On the balcony, you can grab a Titanite Chunk – but be wary of the grunt and crossbowman patrolling down the stairs to your right as you do so. They have more health than the ones you’re used to, and many of them will throw weird bombs at you.
Climb the stairs. On your left is a huddled crossbowman who will aggro when you get close enough, so put him down. Watch out for the grunt with shield and spear who patrols down the stairs ahead, but more pressingly, look for a grunt behind a barricade just to the left of those stairs; he’ll ambush when you’re close enough. Past him there’s a tempting item glow, but three weak grunts will ambush you as you go for it. It’s a Titanite Chunk.
That wheezing sound you’ve been hearing is a winged knight (hulking knight) in the short tower. If you sneak in and walk under the platform he’ll jump down facing the fall. Back attack him and, if you don’t want to duel, sprint back to the bonfire. He’s very easy to cheese.
The item he guards is a Twinkling Titanite, but in his absence you can climb the ladder. Attack the walls and you’ll find a hidden path behind an illusory wall. Here you can collect the Winged Knight set and the Sacred Bloom shield.
Back at the base of the tower, proceed up the stairs. There’s a grunt high above who’ll begin to ping you with bombs, and a crossbowman just ahead and right who’ll join the fun. A second crossbowman is waiting just beyond the first one. What fun.
To your left before you go through the arch with the bomber on top is a lower path. There’s one tall enemy with a halberd patrolling here – but another grunt hidden in the corner to ambush you if you dive down full of fury. Whoops! When they’re gone you can collect the Large Soul of a Weary Warrior. In the mirror image area, a grunt will ambush you when you go to grab the two Titanite Chunks.
As soon as you step under the bomber’s arch, a grunt with an axe will rush out to chop at you. When he’s down, you’re clear to run through the next arch and turn left to activate the Dragon Barracks bonfire.
Why is it called Dragon Barracks? Oh, my precious baby angels. Rest up. Big day tomorrow.
Continue via Dragon Barracks to Dragonslayer Armour.
Back to Dark Souls 3 guide and walkthrough.