The Witcher 3: Bald Mountain
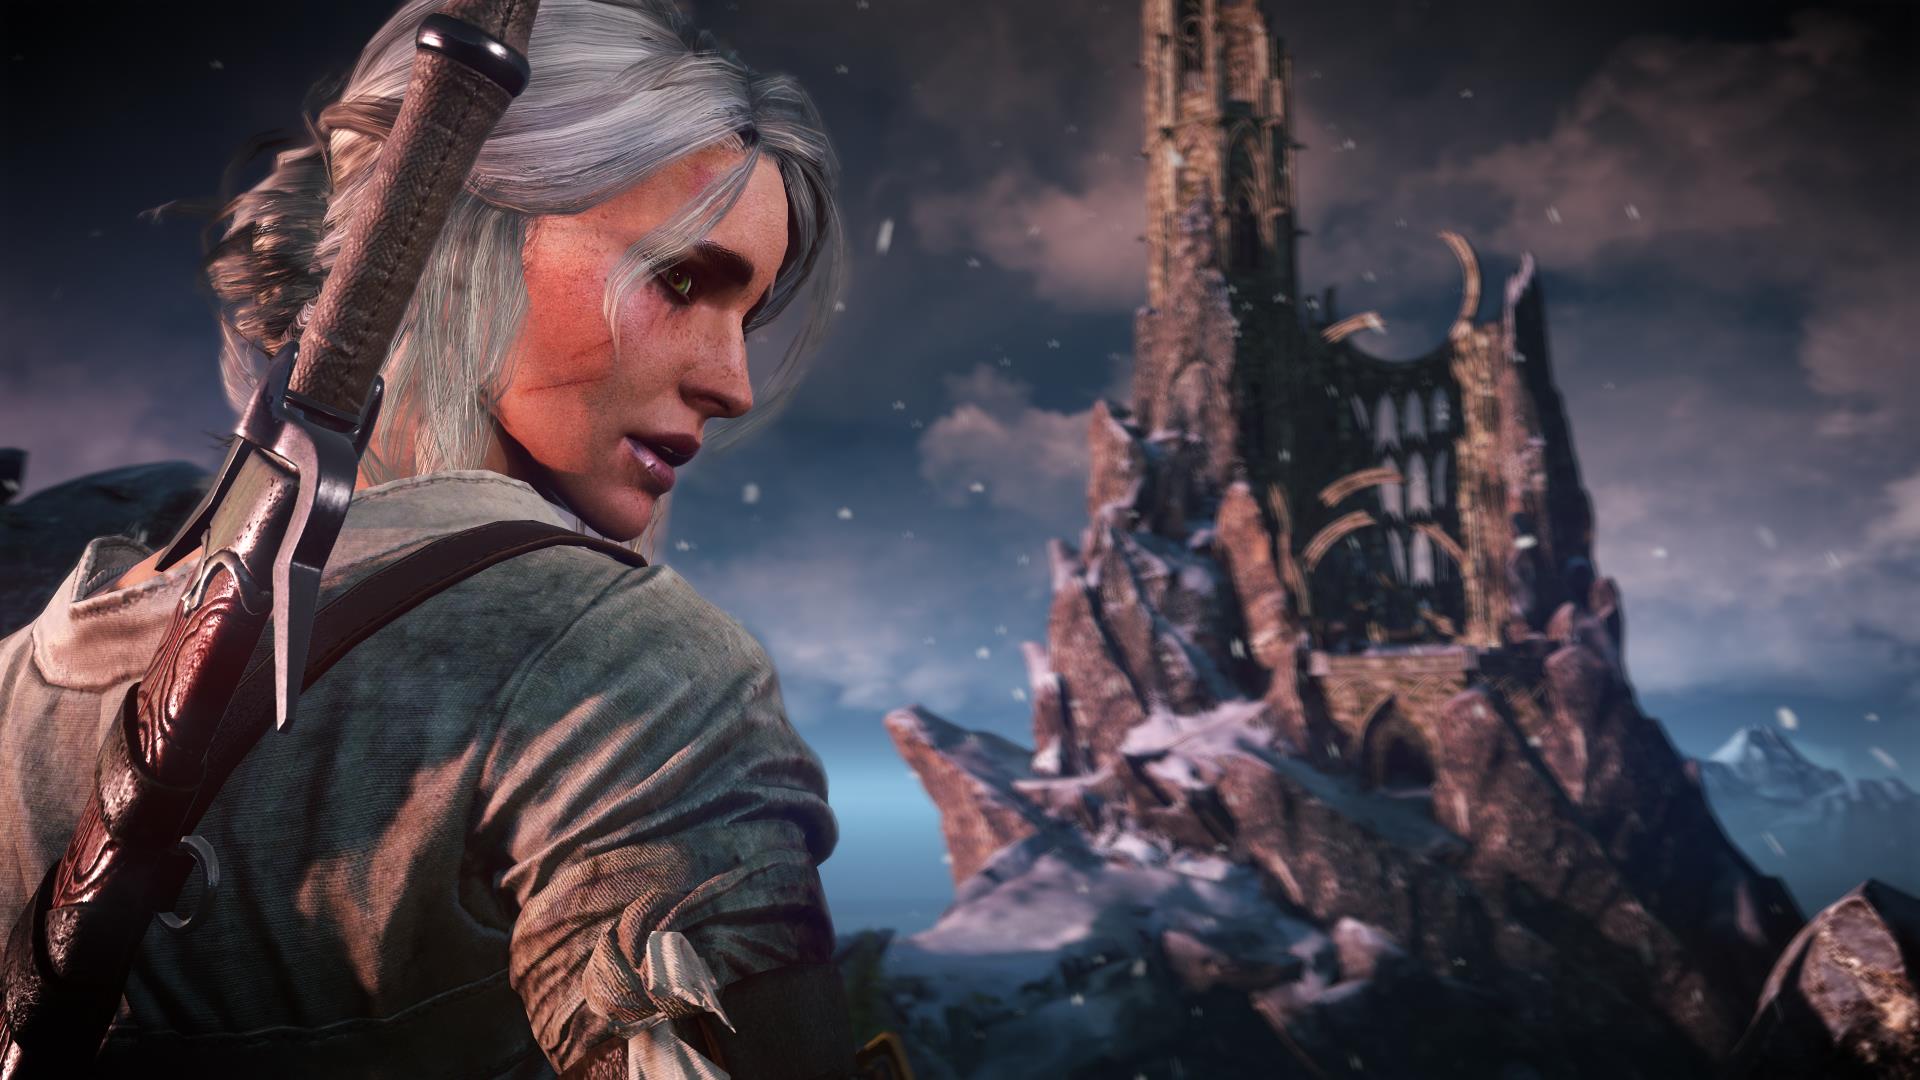

Bald Mountain sees Ciri and Geralt take the initiative against the enemy, wreaking bloody vengeance against those who have wrong them.
The Witcher 3: Bald Mountain
Back in control of Geralt, follow Ciri along the path. No, you can’t fast travel away and go shopping, even if you really need a shave. Soon.
When you reach the village and are invited to feast, accept and take the opportunity to learn as much as you can.
After you’ve chatted you'll be able to wander the gathering and glory be! There are shops! Clear out your inventory; if the trader doesn’t have enough gold to buy your stuff, purchase his seashells, which can be dismantled into pearls and sold at a profit later. The alcohol is worth buying, too, as it’s useful in alchemy. The blacksmith isn’t much chop but get all your stuff repaired. There’s another tarder a bit further on, too.
When you’re ready, continue up the path towards the waypoint and you’ll run into Johnny (and Sarah, depending on your past actions). He explains the situation.
Head on over to Thecla’s tent. Argue for Geralt’s worthiness and you’ll be required to complete a challenge. Agree to this.
When you have control again, dive off the ledge. You’re looking for a tunnel under the water. There are Drowners down here you can either dodge or shoot with your crossbow. Use Witcher Senses and you should spot the coin easily – it’s right on the bottom where the cave splits into multiple paths.
Turn around and head back as soon as you’ve got the coin, or loot the chest if you’ve got enough breath, Climb out of the pool and head around it; you may hear a roar, and Geralt draws his sword, but nothing comes of it.
Return to Thecla’s tent and hand over the coin. When the women leave, feel free to loot the tent – there’s an interesting book which will show red to Witcher Senses. When you’re done, follow Marica up to the gate.
Before you go inside, apply Relic Oil to your silver sword, equip Samum and Devil’s Puffball, and prep for using Igni.
When you go in, you’ll discover you’ve been tricked. Battle the Sylvan to continue; use standard big guy tactics of stunning with Aard or Axii, slowing with Yrden, flanking and then smacking him on the bottom.
You’ll now play as Ciri. Go along the tunnel into you come to a pool, then dive in and swim southwest before climbing out onto the bank.
Boss battle: the Crones
In a moment you are going to fight the Crones, and it is not an easy battle. You don’t have any of Geralt’s abilities and equipment, so you need to use Ciri’s effectively. As a refresher:
- Ciri’s dodge and roll are both a lightning quick teleport, which you should spam constantly when not attacking
- When the energy meter is full, hold down R2/RT to perform a multi-strike teleport attack
- When the energy meter is full, hold down heavy attack (Triangle/Y) to perform a charge attack
- The energy meter refills when attacking or over time on easier difficulty settings
Your best approach is to divide and conquer. Don’t let the crones surround you. Spam teleport while you pick a target, and attack them one at a time, teleporting away when they move to flank you. Starting with the bigger, slower Brewess is best, as she’s easiest to defeat and makes handling the other two much easier.
When you have battered one Crone for a bit she will explode into ravens and rematerialise elsewhere, so be sure to teleport away after a few hits to avoid taking damage from this attack. You also need to keep an eye out for environmental hazards; if you see the water move oddly, get away from it ASAP.
If you keep mobile, focus on taking down one Crone at a time, and attack in short flurries of light and heavy attacks before teleporting away, you’ll have an easier time of this fight. Good luck!
Back in control of Geralt, apply Draconid Oil to your silver sword, equip Grapeshot, and sort out your favourite potions; meditate to refill supplies, if necessary..
Proceed along the rocky path to your right, pausing to draw on the Place of Power just after the bridge. Head up towards the bonfire, climbing the ledges on the way.
In the dialogue that follows you can answer as you please, and the beat the s**t out of Imrelith.
Boss battle: Imrelith
Hoo boy. This is a real toughie. Do not be ashamed to dodge well away, open your inventory, and spam performance-enhancing potions like Thunderbolt, Petri’s Philter, Tawny Owl and Blizzard, and survivability-increasing potions like Full Moon – watching out for your Toxicity level, of course.
If you get into trouble, use White Honey to clear your current potions and Toxicity, then use a Swallow and spam food for a bit, before reapplying the other potions.
It’s a good idea to use Quen whenever you can – dodge away and reapply as required – because Imrelith hits like a ton of bricks.
In the first stage of the battle, Imrelith is pretty slow and leaves huge openings in his attacks, so it’s easy to dodge and get in a strike before dodging away again to rinse and repeat. If you have trouble, lure him into a Yrden trap to make it easier.
If you are strong enough, you can also parry and riposte his light attacks in this stage.
Watch for Imrelith’s teleports; he can get behind you easily. Stay mobile.
In the next stage, Imrelith drops his shield and attacks much more quickly. Luckily, he doesn’t have much stamina. Dodge his combo of multiple strikes, then go in for the attack when he pauses to recover his breath.
In both stages, Imrelith is vulnerable to blinding with Samum. This gives you an opening to cast Signs on him he would otherwise interrupt.
When Imrelith is down you’ll have a chat with Ciri; when prompted, say you want to stay a bit longer. This gives you the opportunity to climb back up the rocky path to loot Imrelith for a Magic Acorn.
Once you’ve done this, speak with Ciri to descend the mountain. You ill meet two villagers, and you can give them the acorn – or keep it for yourself. It will give you two extra skill points, but the magic of the tree is lost forever.
This concludes the quest. We’re off to Final Preparations now.
Onwards to Final Preparations, or back to The Witcher 3: Act Three.
Back to The Witcher 3 guide and walkthrough.