Lords of the Fallen guide: Commander boss battle
Strategies for taking down the Commander and preparing for another boss fight not soon after...

Lords of the Fallen guide: Commander boss battle
Before we commence, note that the bonus requirement stipulates that you don’t use your shield to block attacks. If you picked up the Shard of Heroes, you can take one of the weapons from the statues over to the left. If you do this after the battle has ended, you will only be given the option to respec.
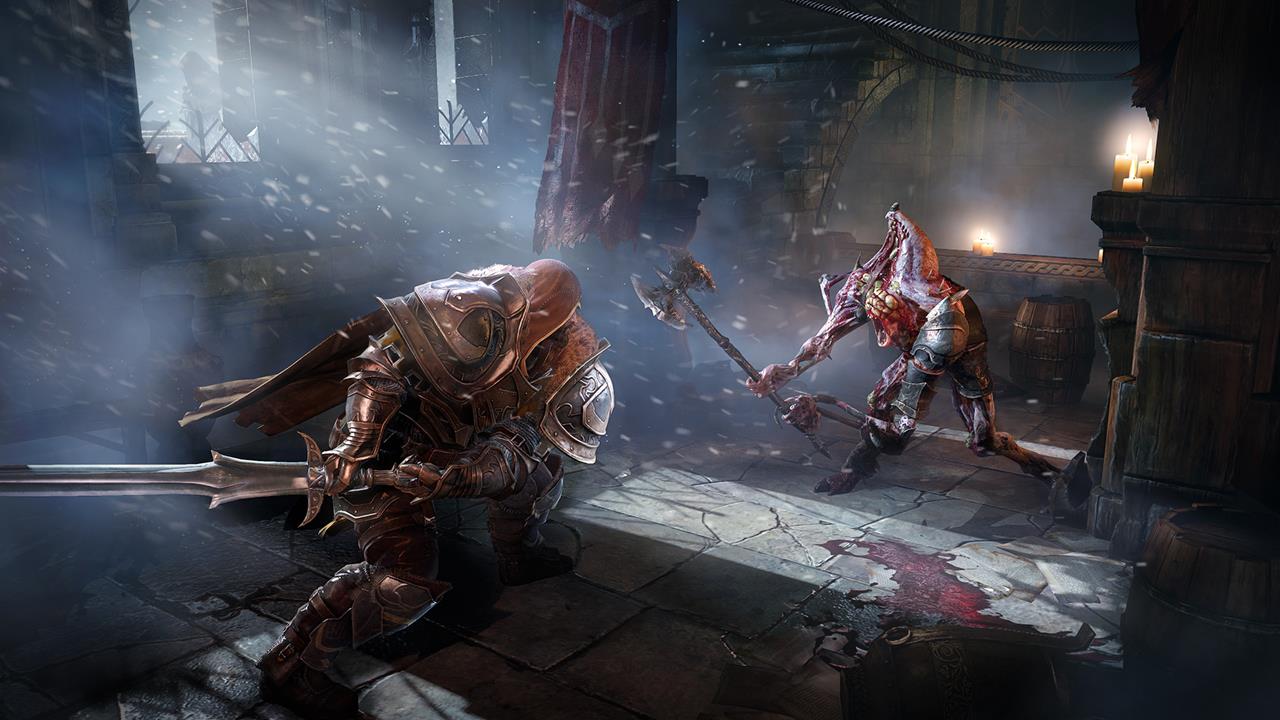
In terms of strategy, don’t stray too far from the Commander. He’ll use his shield to knock you back, but won’t follow up with an attack. Circle around him (he will do the same), and when he lifts his shield, back off so that you’re just out of range of the subsequent shockwave when he pounds it onto the floor. While his shield is wedged into the ground, nip back in and do some damage.
Watch out for the magic shield, as it will summon a minion that you have to defeat in order for the shield to dissipate. He’ll also spice things up by letting fly magic sword lasers, but as long as you’re circling him and keeping close, this won’t pose as a problem.
The spoils of your battle will yield a Big Sealed Rune, an Arrowhead fist weapon and Commander Shield. Go back to the checkpoint to save, then head across the arena where you fought the Commander for another cutscene. Make your way to the right to find a Marauder and audio note. As you enter the area, turn right and you’ll spot a portal. Hop through, open the chest and a light will spill out that will lead you to another chest. That’s locked.
You’ll be attacked by a Rogue, so take him out, continue toward the light and face off against another Rogue and 2 Infested. Open the chest here to find a Qamar Staff and an Energy Shard. Now head back toward the light that emanated from the initial chest, taking out the Marauder and Rogue along the way, and touch the light to send it shooting towards the locked chest. Chase after the light as fast as you can to reach the chest while the light floats above it. If you’re too slow and the light moves, the chest will lock. Open the chest to find a Small Sealed Rune and Fire Resistance Shard.
Leave the area via the portal and head to the left. Deal with the Marauder and pick up the Bloody Flint. Follow the pathway to the end to find a Rogue and another audio note. Double back to the area where you picked up the first audio note (by the portal) and follow this path. There aer 3 Rogues and a checkpoint down here.
You can pick up a Guardman Greataxe by heading to the left where you’ll encounter a Temple Guardian. He’ll use his shield to stun you and follow up with an immensely powerful stab that can be lethal. Your strategy should be to get behind him for a Surprise Attack or use ranged attacks if you’re not agile enough for this approach, although you should look out for his rush and follow-up attack. If you’re able to use magic at this stage, you’ll find it pretty helpful.
Having disposed of the Temple Guardian, beware of the Advanced Infested to your left. As its name implies, it’s a lot stronger than normal Infested. Continue along the pathway and you’ll run into 2 Infested and a Rogue with ranged incendiary attacks. Once everybody is dead, open the chest on the left with a rune to obtain the Guardman Greataxe and Empty Bottle. Continue up the steps and you’ll encounter 2 Temple Guardians. You can lure 1 down the steps with ranged attacks to separate them and make the battle easier.
Make your way back to the checkpoint and head down the corridor on the left, picking up the audio note as you enter. There’s also a Rogue lurking here in front of a locked door. Follow the corridor around the corner and you’ll encounter 2 Marauders, followed by 2 Infested. Continue towards the archway, but rather than going through, veer off to the left and head up the stairs. The lever up here will open up another shortcut that leads back out to the previous portal you visited.
At this point you can proceed to the boss battle, or alternatively, take the scenic route to have the luxury of a checkpoint before you face him.
If you want to progress to the boss right away, head back to the room where you fought the Marauder. You can drop down by the steps to find the chest containing an Empty Bottle, Magic Resistance Shard and Guard’s Greatsword. Follow the path, along which you’ll stumble upon an audio note, and enter the graveyard where the Worshiper boss battle will initiate.
For those of you who aren’t as hasty and want to opt for the scenic route, go through the archway and down the steps, passing a portal on the way. At the bottom are 2 Golems who can be dispatched fairly quickly using the Gauntlet, after which you’ll run into a Rogue. Take care of him and continue on through the next archway. Open the chest here to obtain a Ghost Merge Shard, Steel Sword, and Steel Dagger. Grab the Human Skull next to the checkpoint, save your game and speak with Kaslo.
Head through the graveyard to the left and open the gate using the lever. When you enter the gate, you’ll trigger a cutscene that will lead into the Worshiper boss fight.
Back to Lords of the Fallen guide: walkthrough and boss fight tactics