Alien Isolation guide: mission 11
As if this wasn't going to happen.

Alien Isolation guide mission 11 - Hazard Containment - Kill the Synthetics
Routine retirement of replicants.
Take the Elevator to the Solomons Galleria
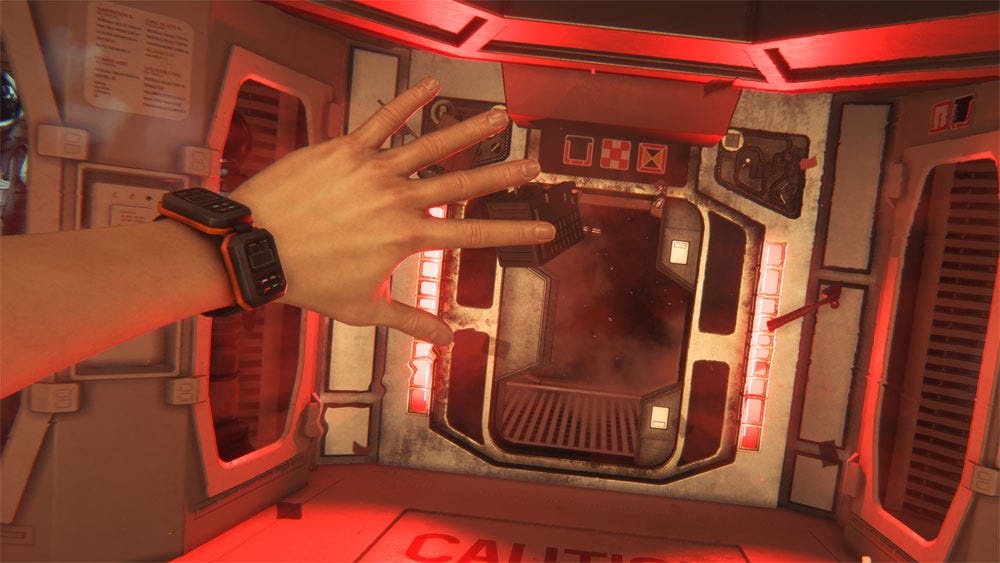
Leave the room and use the Plasma Torch to remove the panel on the door so that you can open it.Take the first left, then right, after which you’ll come across a set of stair leading down to a corpse that will give up a shotgun and a keycard. Carry on through here and open the door at the end with the keycard.
Follow this path to the Spacefilght Terminal, go through the main door and straight on to the elevator at the end to Solomons Galleria.
Return to the Marshal Bureau
Exit the elevator, turn left and carry on until you reach the hallway. Follow it to the left and you’ll come to an area with shutters.
Restore Power to the Galleria Security Shutters
To your right is a device that will present you with an option to activate it - do so, and when it moves off follow it until it comes to a halt next to a vent. It’s almost as if it were aware of your penchant for air ducts… You know the drill. Get your tush inside and follow it to the end.
You’ll pop out into a room with blueprints for an EMP on a nearby table. Grab it and take the stairs to the right, using the lever to open the door. Head left along the corridor until you reach another door with a lever. Go through and sweep the room for supplies before entering yet another cramped shaft via the floor hatch.
Follow the route to the end and you’ll exit into a room with a generator that you need to use to restore the power, allowing you to leave the area via the now functioning door which has a bunch of homocidal androids behind it.
Return to the Marshal Bureau
Dispose of this new threat however the fancy takes you, then head toward the lights and turn left into the corridor. You’ll be set upon by an armed lunatic, so introduce him to your shotgun before looting his lifeless body as a lesson on what happens when people try to ambush you.
Go down the ramp, turn right and on through the big door. Take the map from the wall on your right, carry straight on and take the first left through the open gate. Be warned that as it’s opening, an android will ambush you, so take care of it before heading right and up the stairs towards the Colonial Marshals.
Find an Alternate Route
This old chestnut again. Go back down the stairs and retrace your steps through the gate to where you collected the map from the wall. Go straight on and up the stairs into the arms of another ambush. Do what you need to do before going up the second set of stairs and through the large door. Grab the map from the wall on the right, then head through the gate on the left-hand side of the corridor. Go through a second gate to find a save station.
After saving your progress, enter the room on the left where you’ll see a Sevastolink terminal. Leave via the door without a sign above it and through the next door that you’ll need to open with a lever. Dispatch the android lurking in here, turn right and enter the first door on the left. Head down 2 sets of stairs to the next hallway. Have a poke around in the rooms down here before once more stuffing yourself into a duct, to the left of the stairs.
When you emerge from the vent, head into the adjacent room and go right to bump into Ricardo and a veritable trove of dead people whose pockets you can pilfer. Don’t forget to loot the area in your excitement over the dead bodies.
Take the Transit to the SCIMED Tower
You need to find Samuels, so leave the area via the door to the right of where Ricardo sat, go through the door to the right after you descdnding the stairs, and go down a second set. There’s an android in this corridor, so take car of it before heading through the gate on the left and then a second gate to the left again.
There’s another android in this area guarding some stairs, so kill him, go up the stairs and head left until you reach a turn to the right leading to the Towerlink Transit System.
Carry straight on and down the stairs to Towerlink 03, where you can call the transit to SCIMED Tower. There’s an android in the area, so avoid or kill it before jumping onto the transit and leaving the area to finish the mission.
Head back to our Alien Isolation guide for the rest of the walkthrough.